Appearance


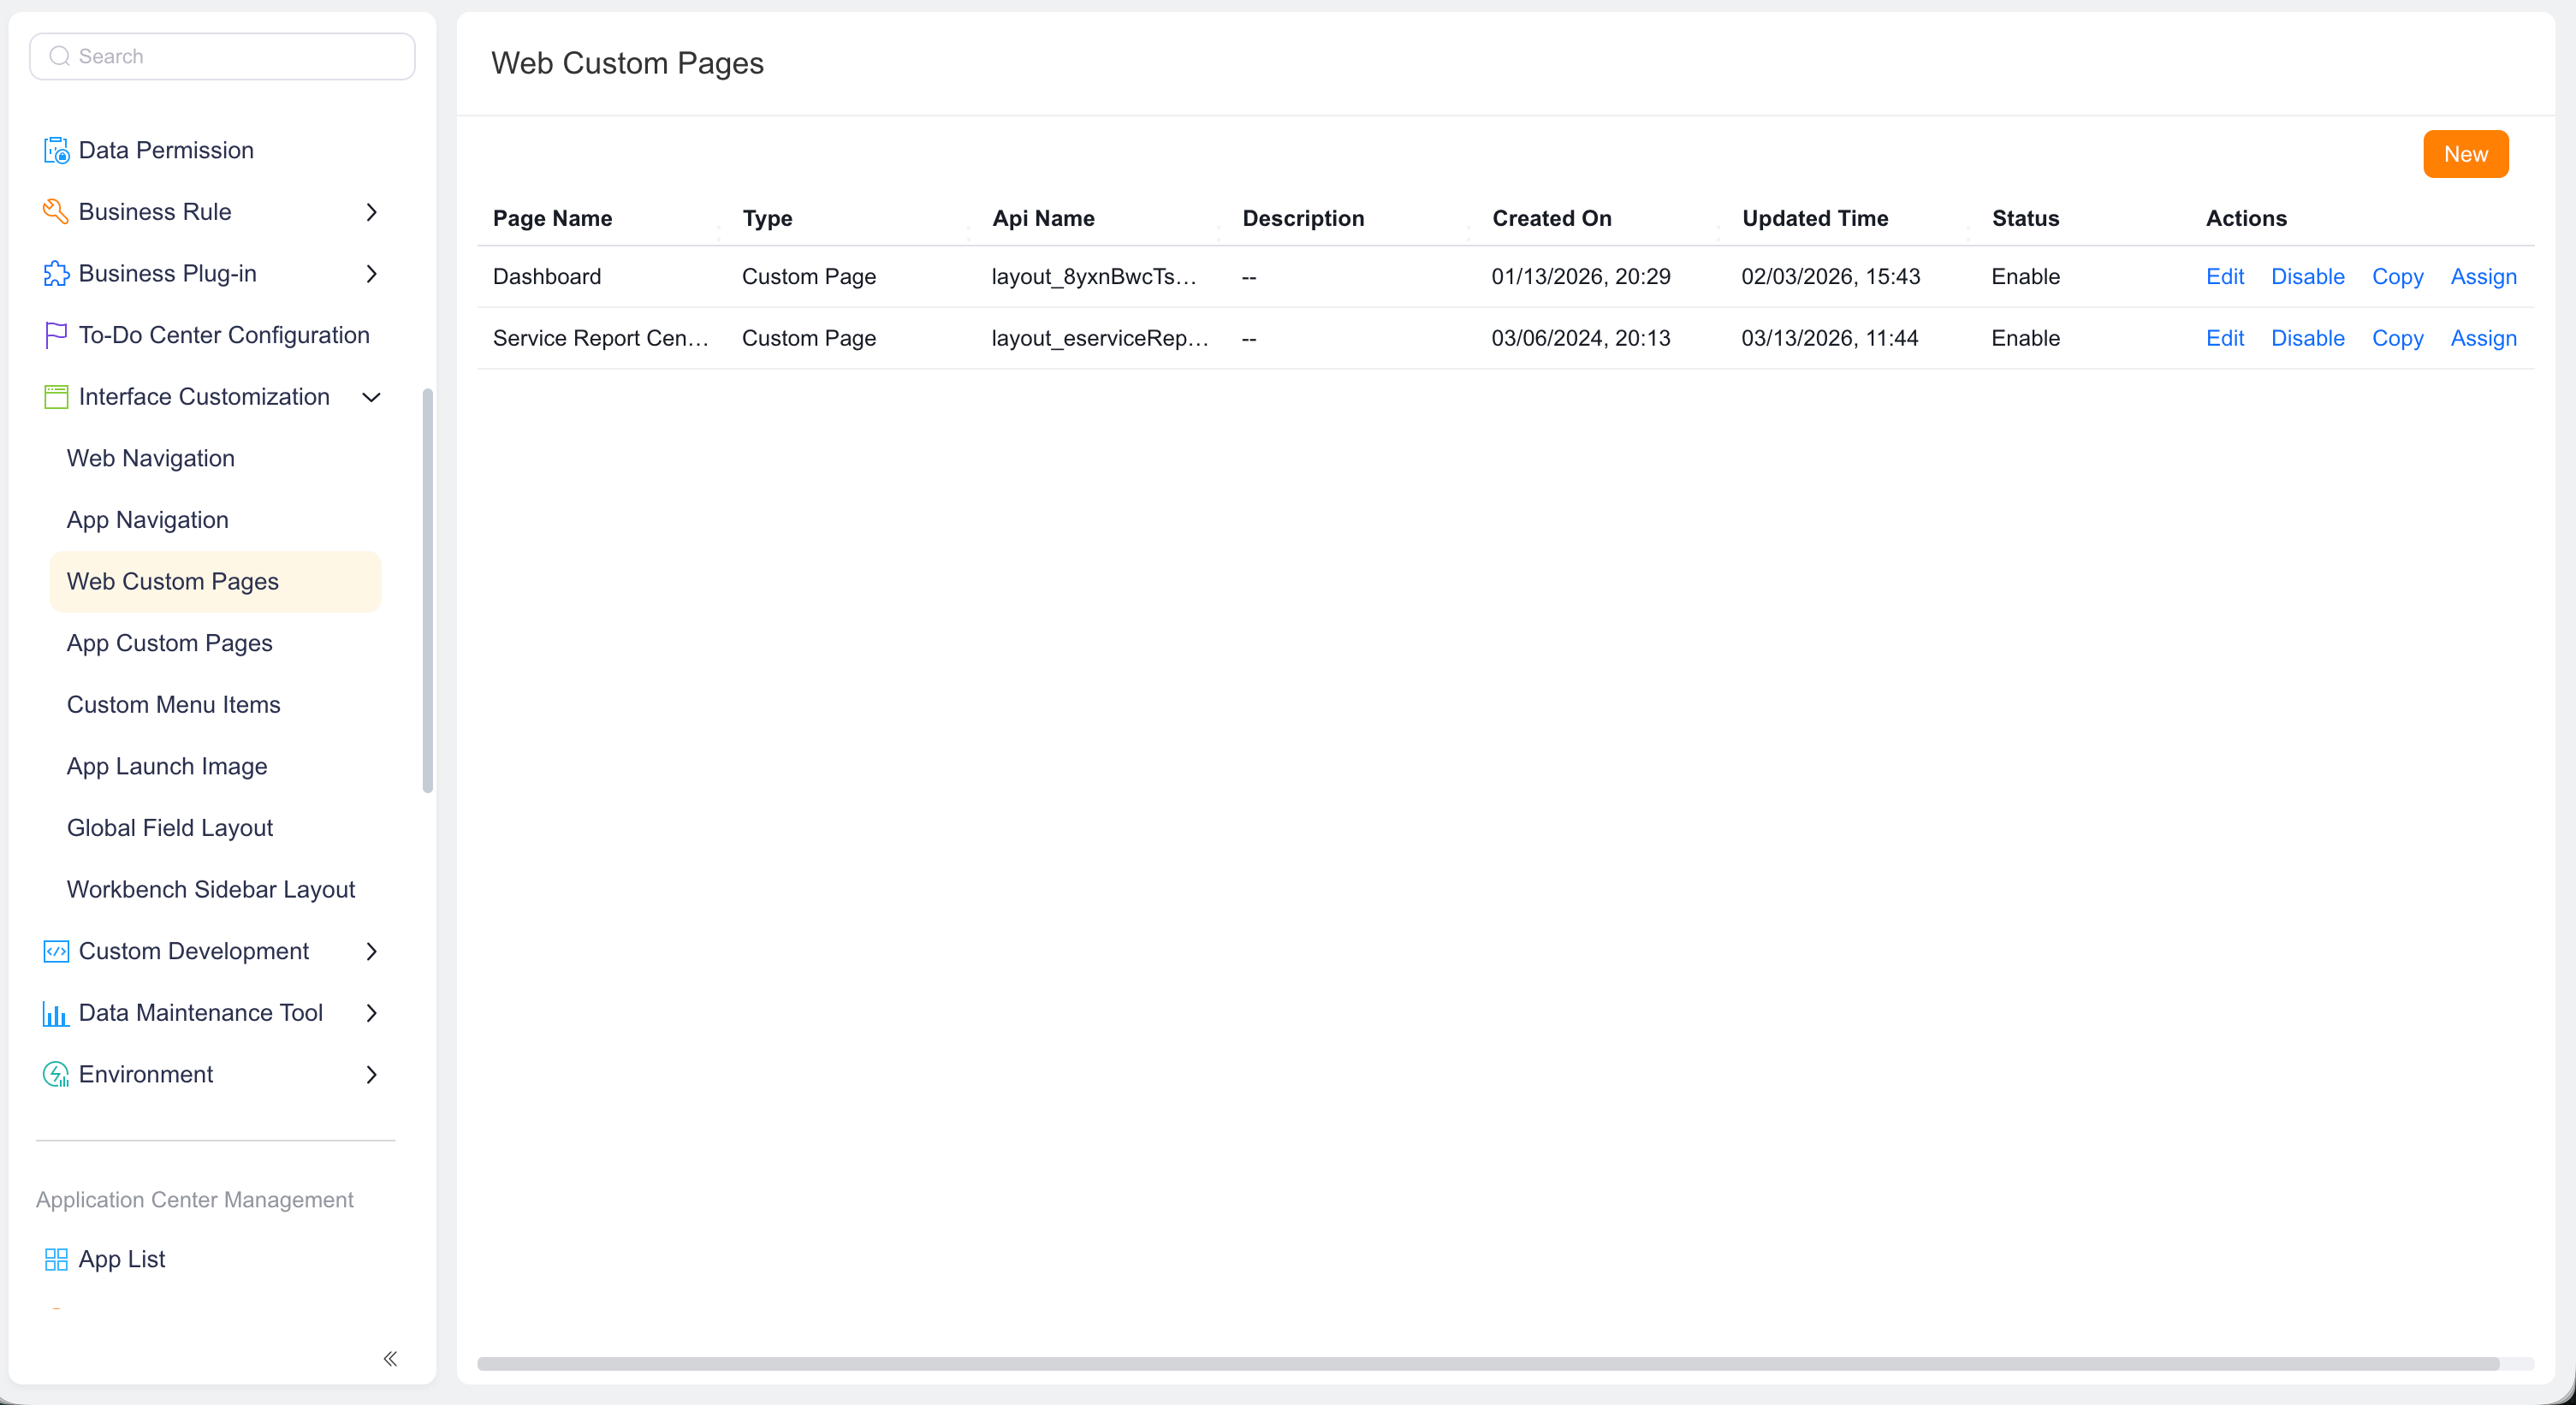
Build enterprise-specific business pages with Web custom pages.
Use multiple layouts and components to build cross-object workspaces, dashboards, aggregated entry pages, and role-specific pages. Publish a page through a custom menu item in a CRM or Web app view.
IMPORTANT
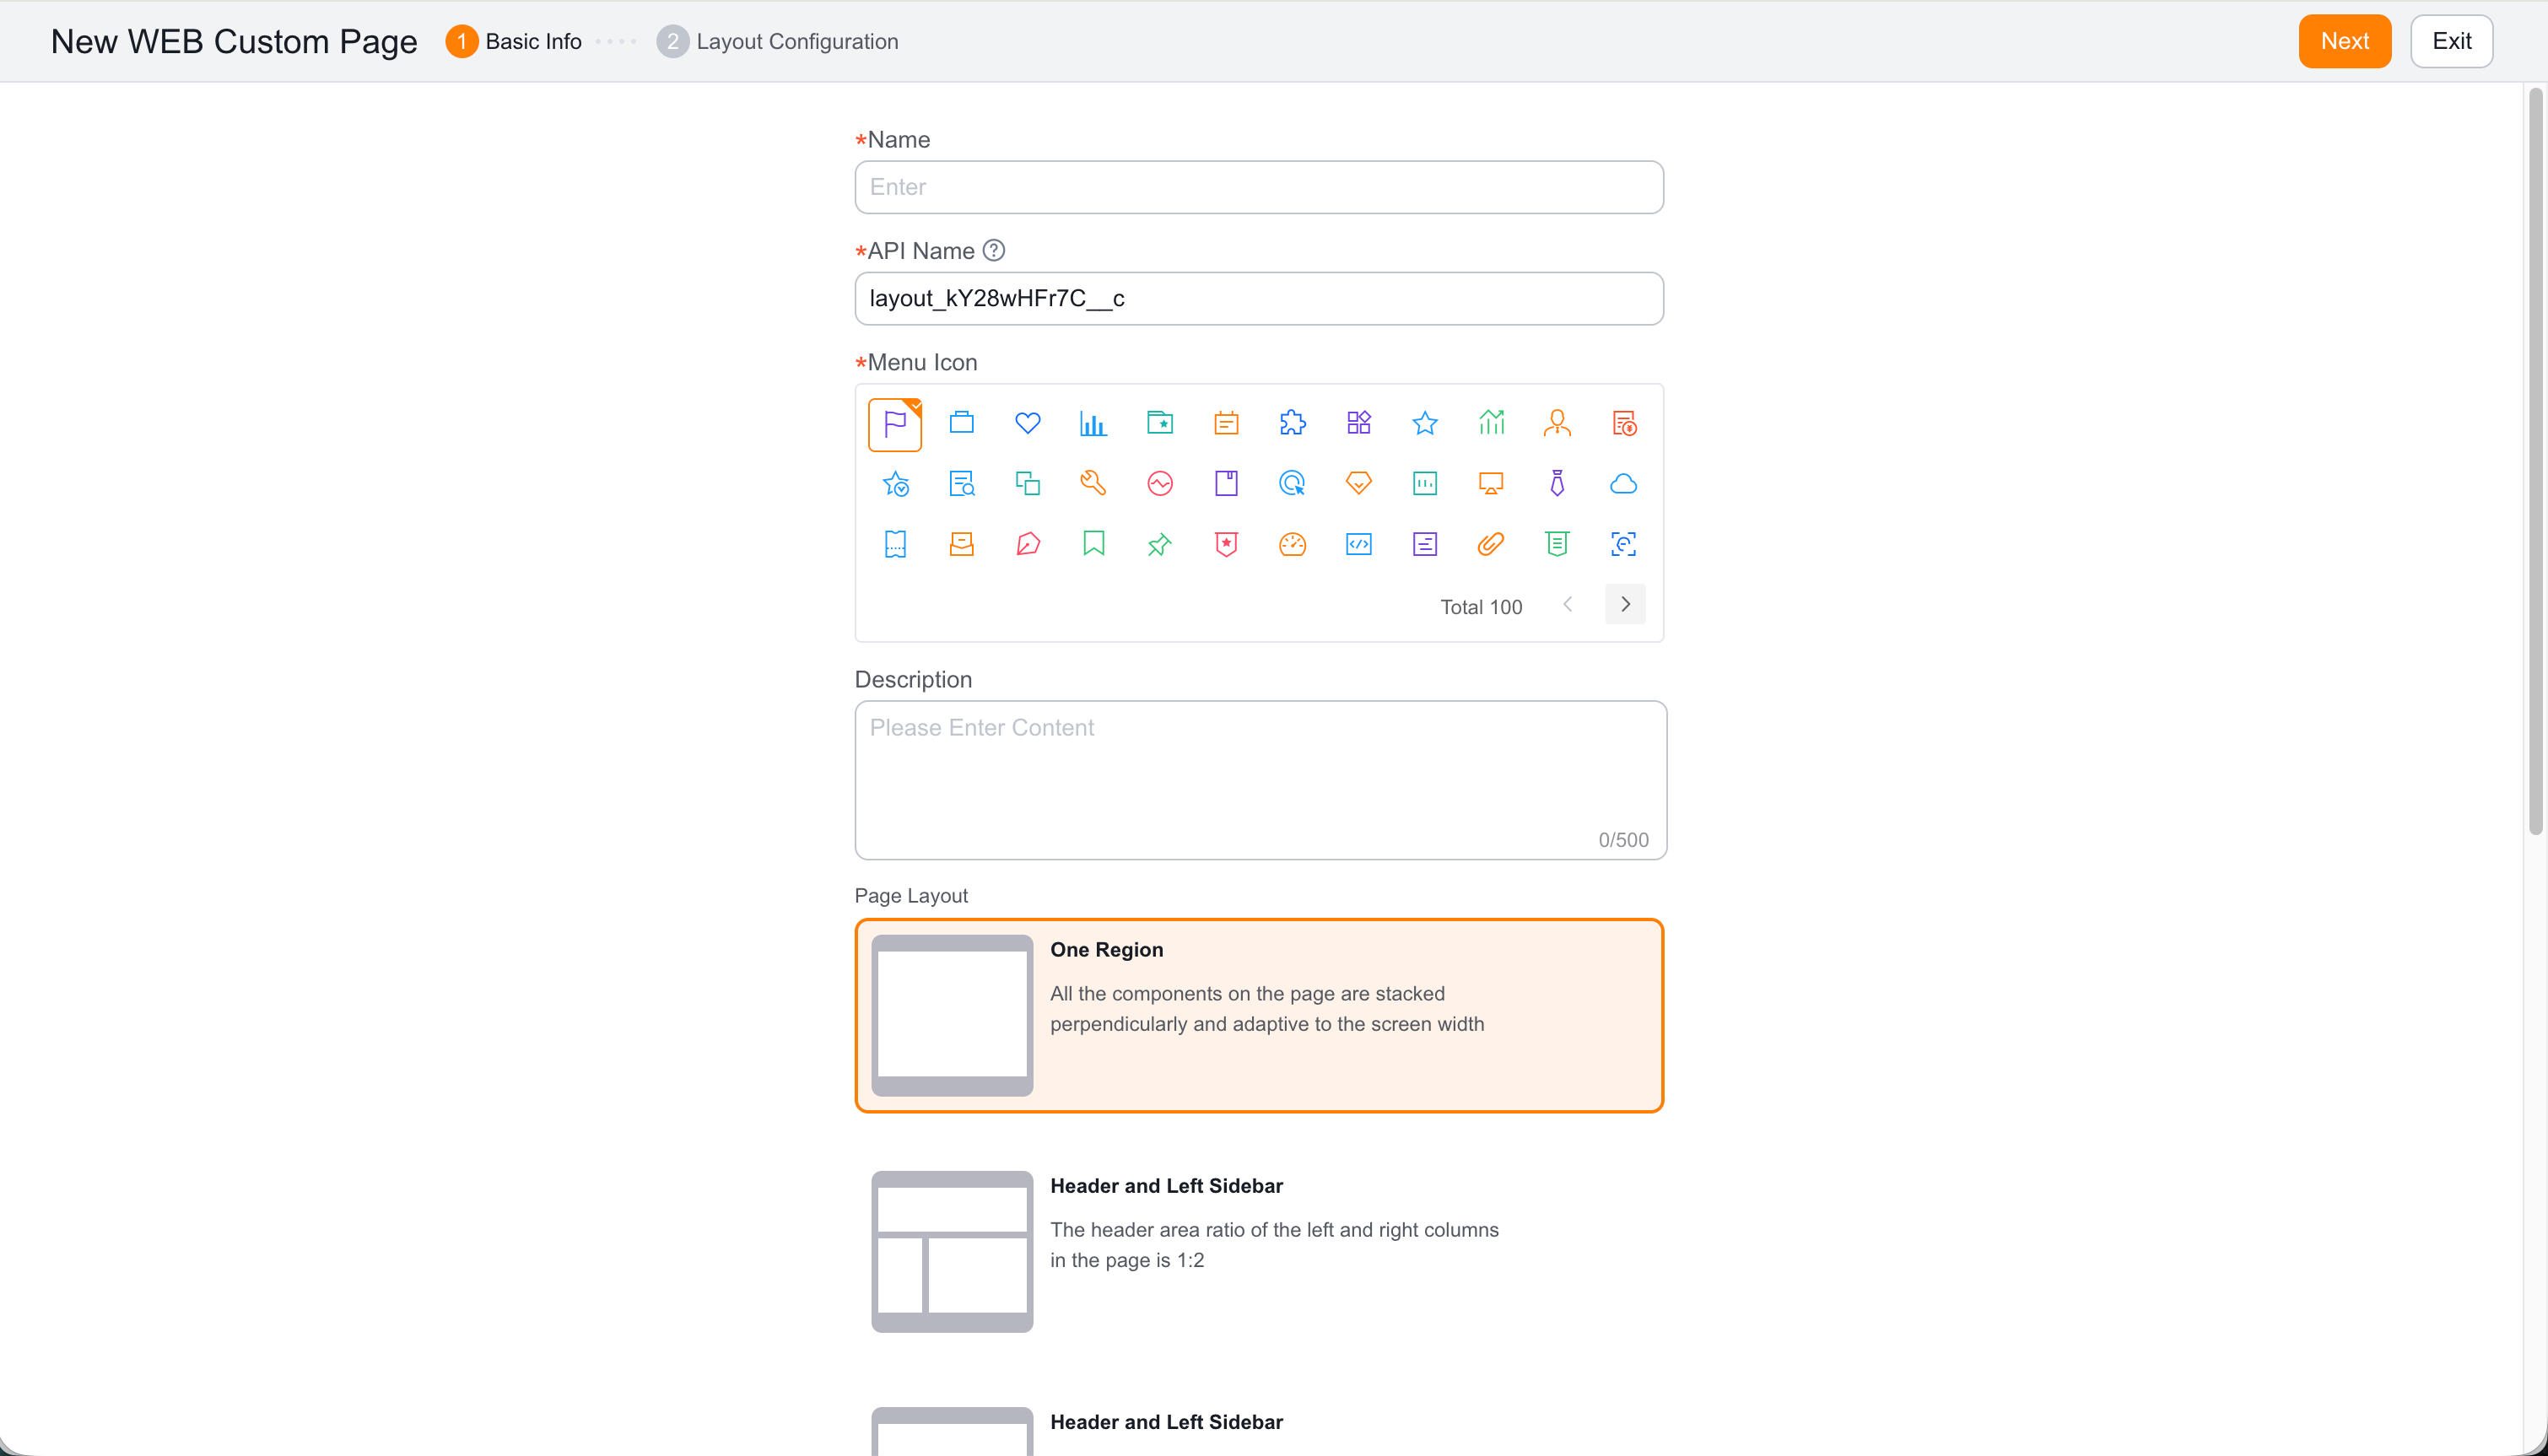
| Field | Description | Recommendation |
|---|---|---|
| Page Name | Required display name, up to 50 characters. | Use a clear business name. |
| APIName | Developer-facing identifier with format requirements. | Keep the generated value unless required. |
| Menu Icon | Preset system icon. | Match the page purpose. |
| Page Layout | One of seven layouts in the source material. | Select by component count. |
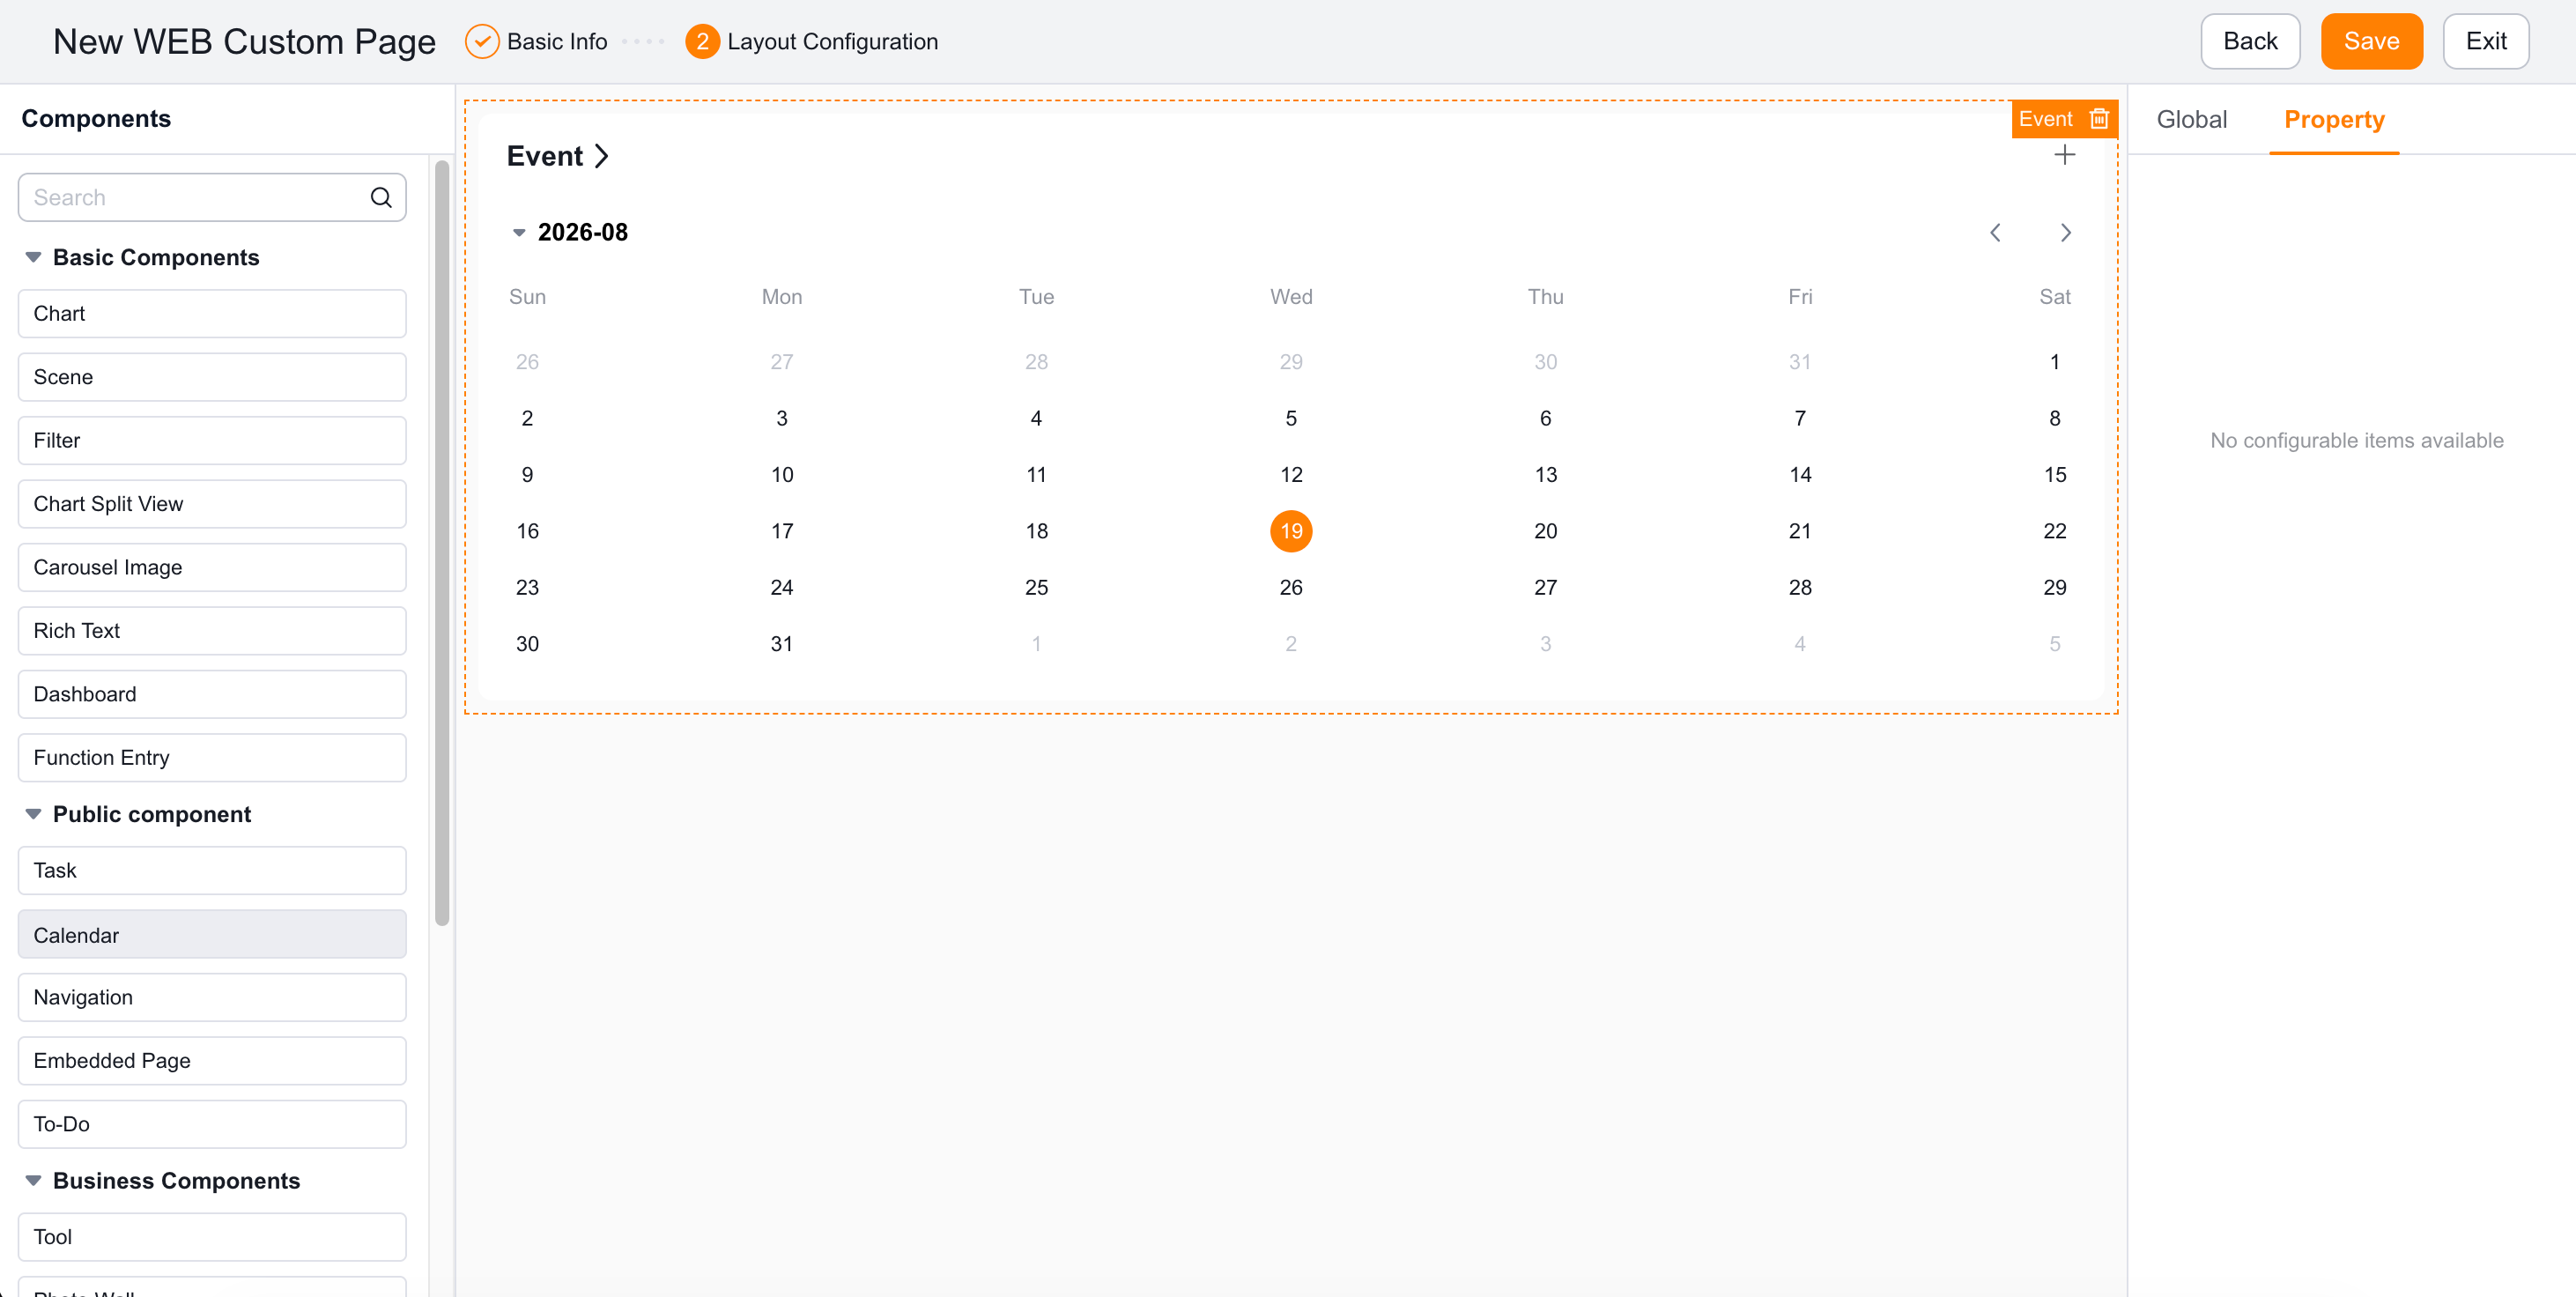
| Area | Purpose |
|---|---|
| Component panel | Lists available components. |
| Canvas | Previews and arranges page content. |
| Settings panel | Shows Global Settings and Component Settings. |
Use Edit, Disable, Copy, and Assign from the page list. Assign adds the page to a custom menu item and can create that item. Disable a page before deleting it.
| Action | Description |
|---|---|
| Edit | Modify an existing custom page. |
| Disable | Stop using the page. |
| Copy | Create a page with the same configuration. |
| Assign | Assign the page to a custom menu item or create an item. |
| Delete | Disable the page before deleting it. |
After saving, publish the page to an app view or CRM menu through a custom menu item.