Appearance


CRM menus control object and feature entries in the CRM application.
Create several tenant-level menus and use Applicable Scope to show different menus to teams. Employees can maintain personal menus when permitted.
IMPORTANT
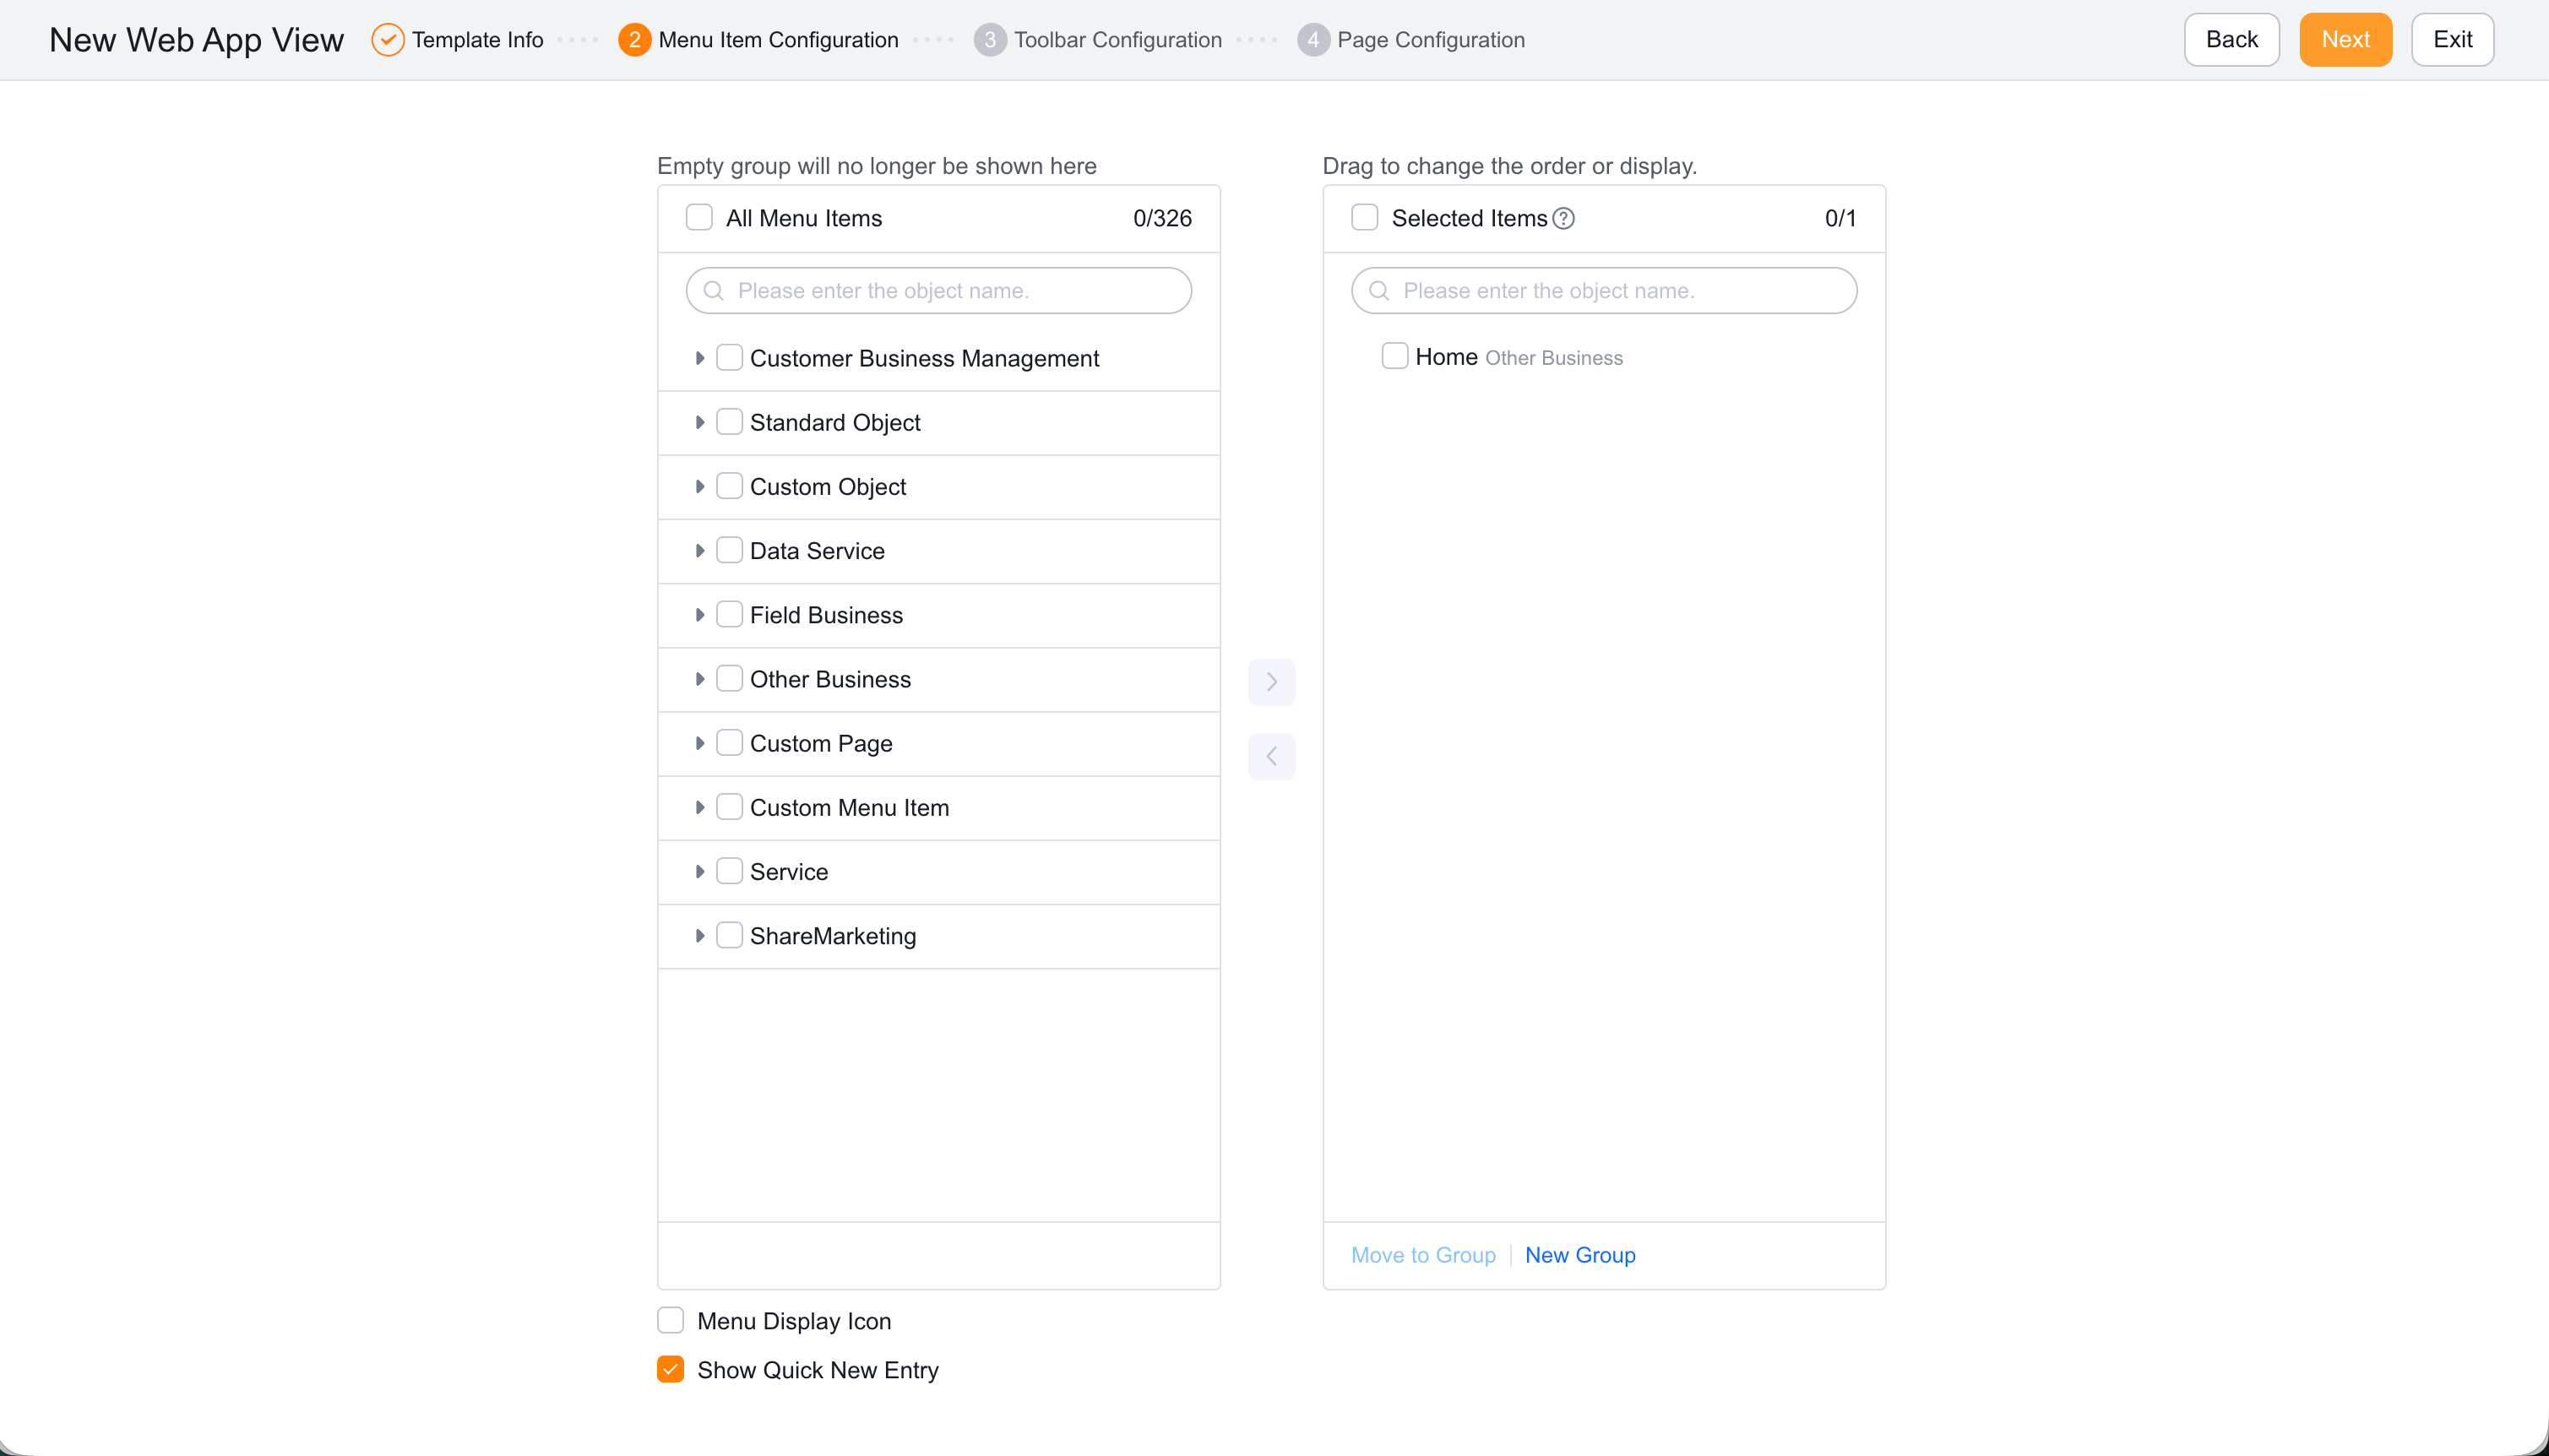
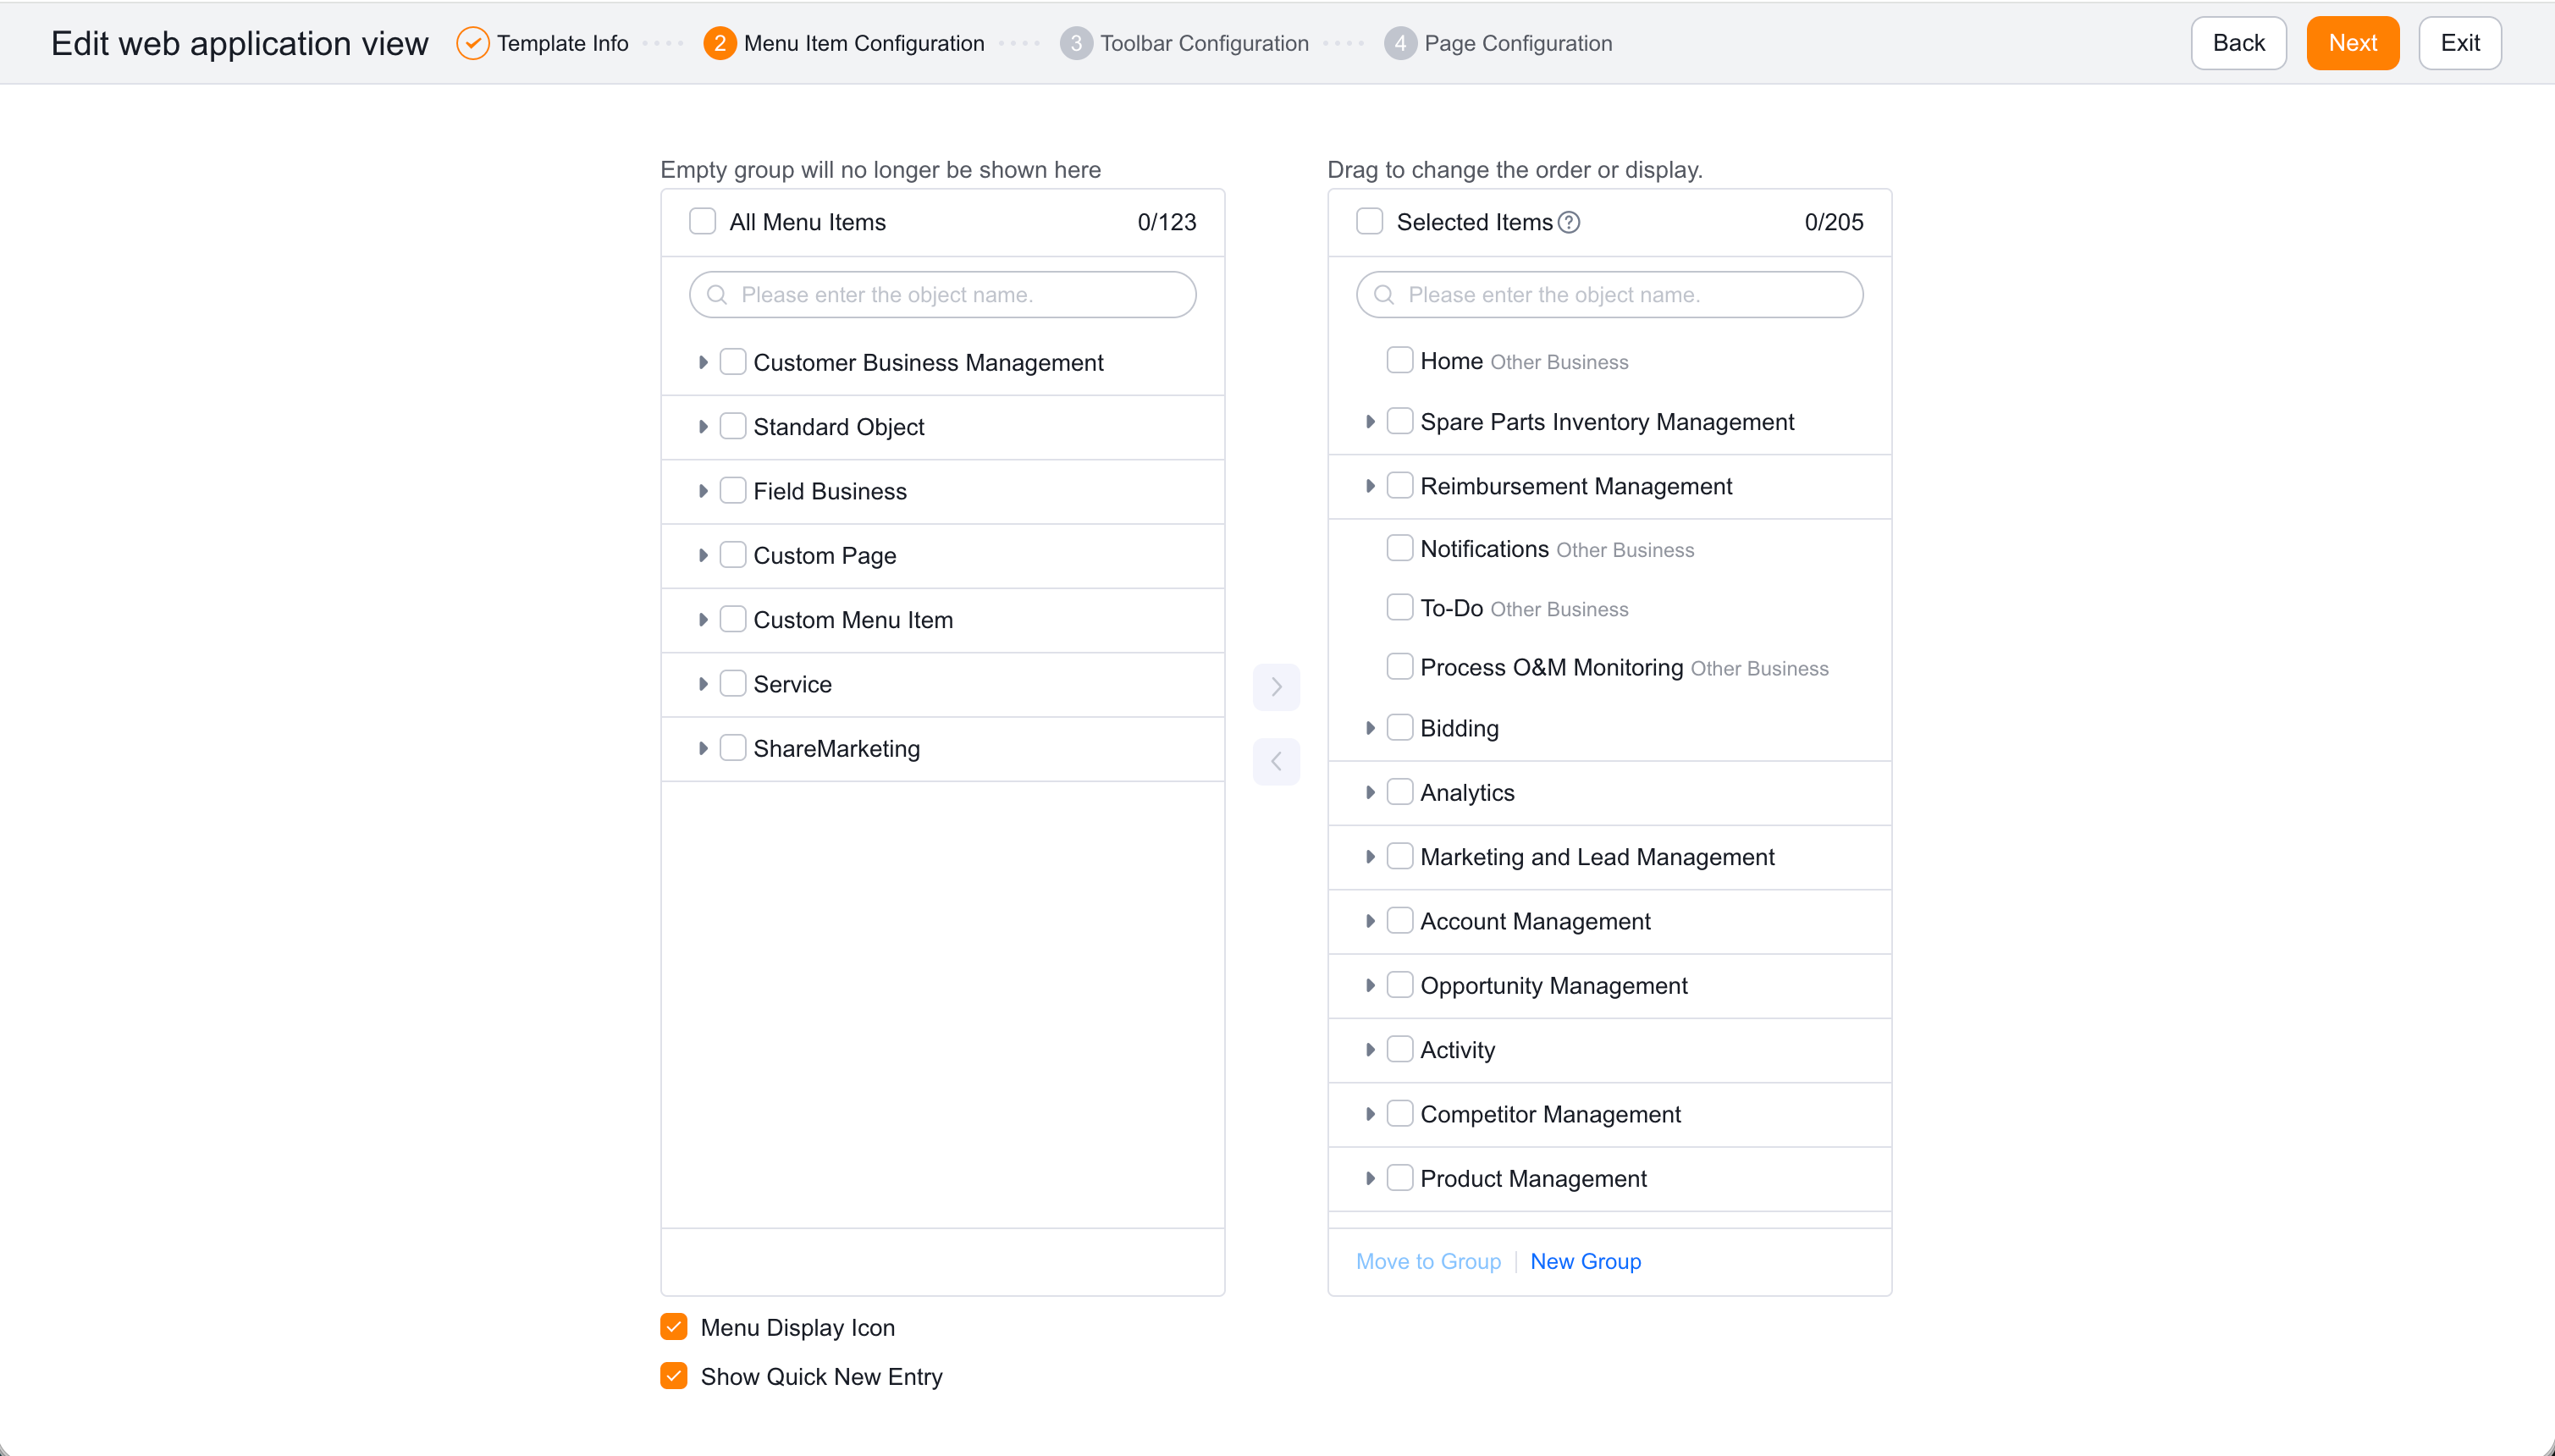
| Setting | Description |
|---|---|
| All Menu Items | Available system items on the left. |
| Selected Menu Items | Items shown in this menu. |
| Menu Groups | Groups items by business category. |
| Drag to Sort | Changes group and item order. |
| Quick Create Entry | Shows or hides Quick Create. |
| Icons | Shows or hides item icons. |
Edit the menu, verify its Applicable Scope, and save. Ask employees to refresh or restore their personal menu defaults.
Personal menus can override tenant changes. Custom Objects may take up to one hour to appear because of caching. Some Standard Objects cannot be exposed. Legacy mobile CRM does not show custom items or custom pages.
| Mode | Default behavior | Note |
|---|---|---|
| With icons | Shows expand and collapse controls. | Users can collapse the sidebar. |
| Without icons | Hides those controls. | Collapsing may require a product rollout setting. |
Employees in scope can switch to the menu and see items in the configured groups and order.