Appearance


Custom buttons let you add business actions to object pages. These actions can update data, advance a process, or integrate systems.
Each object supports up to 20 custom buttons by default. Each custom button resource package adds five buttons. You can purchase up to five packages, for a maximum of 45 buttons.
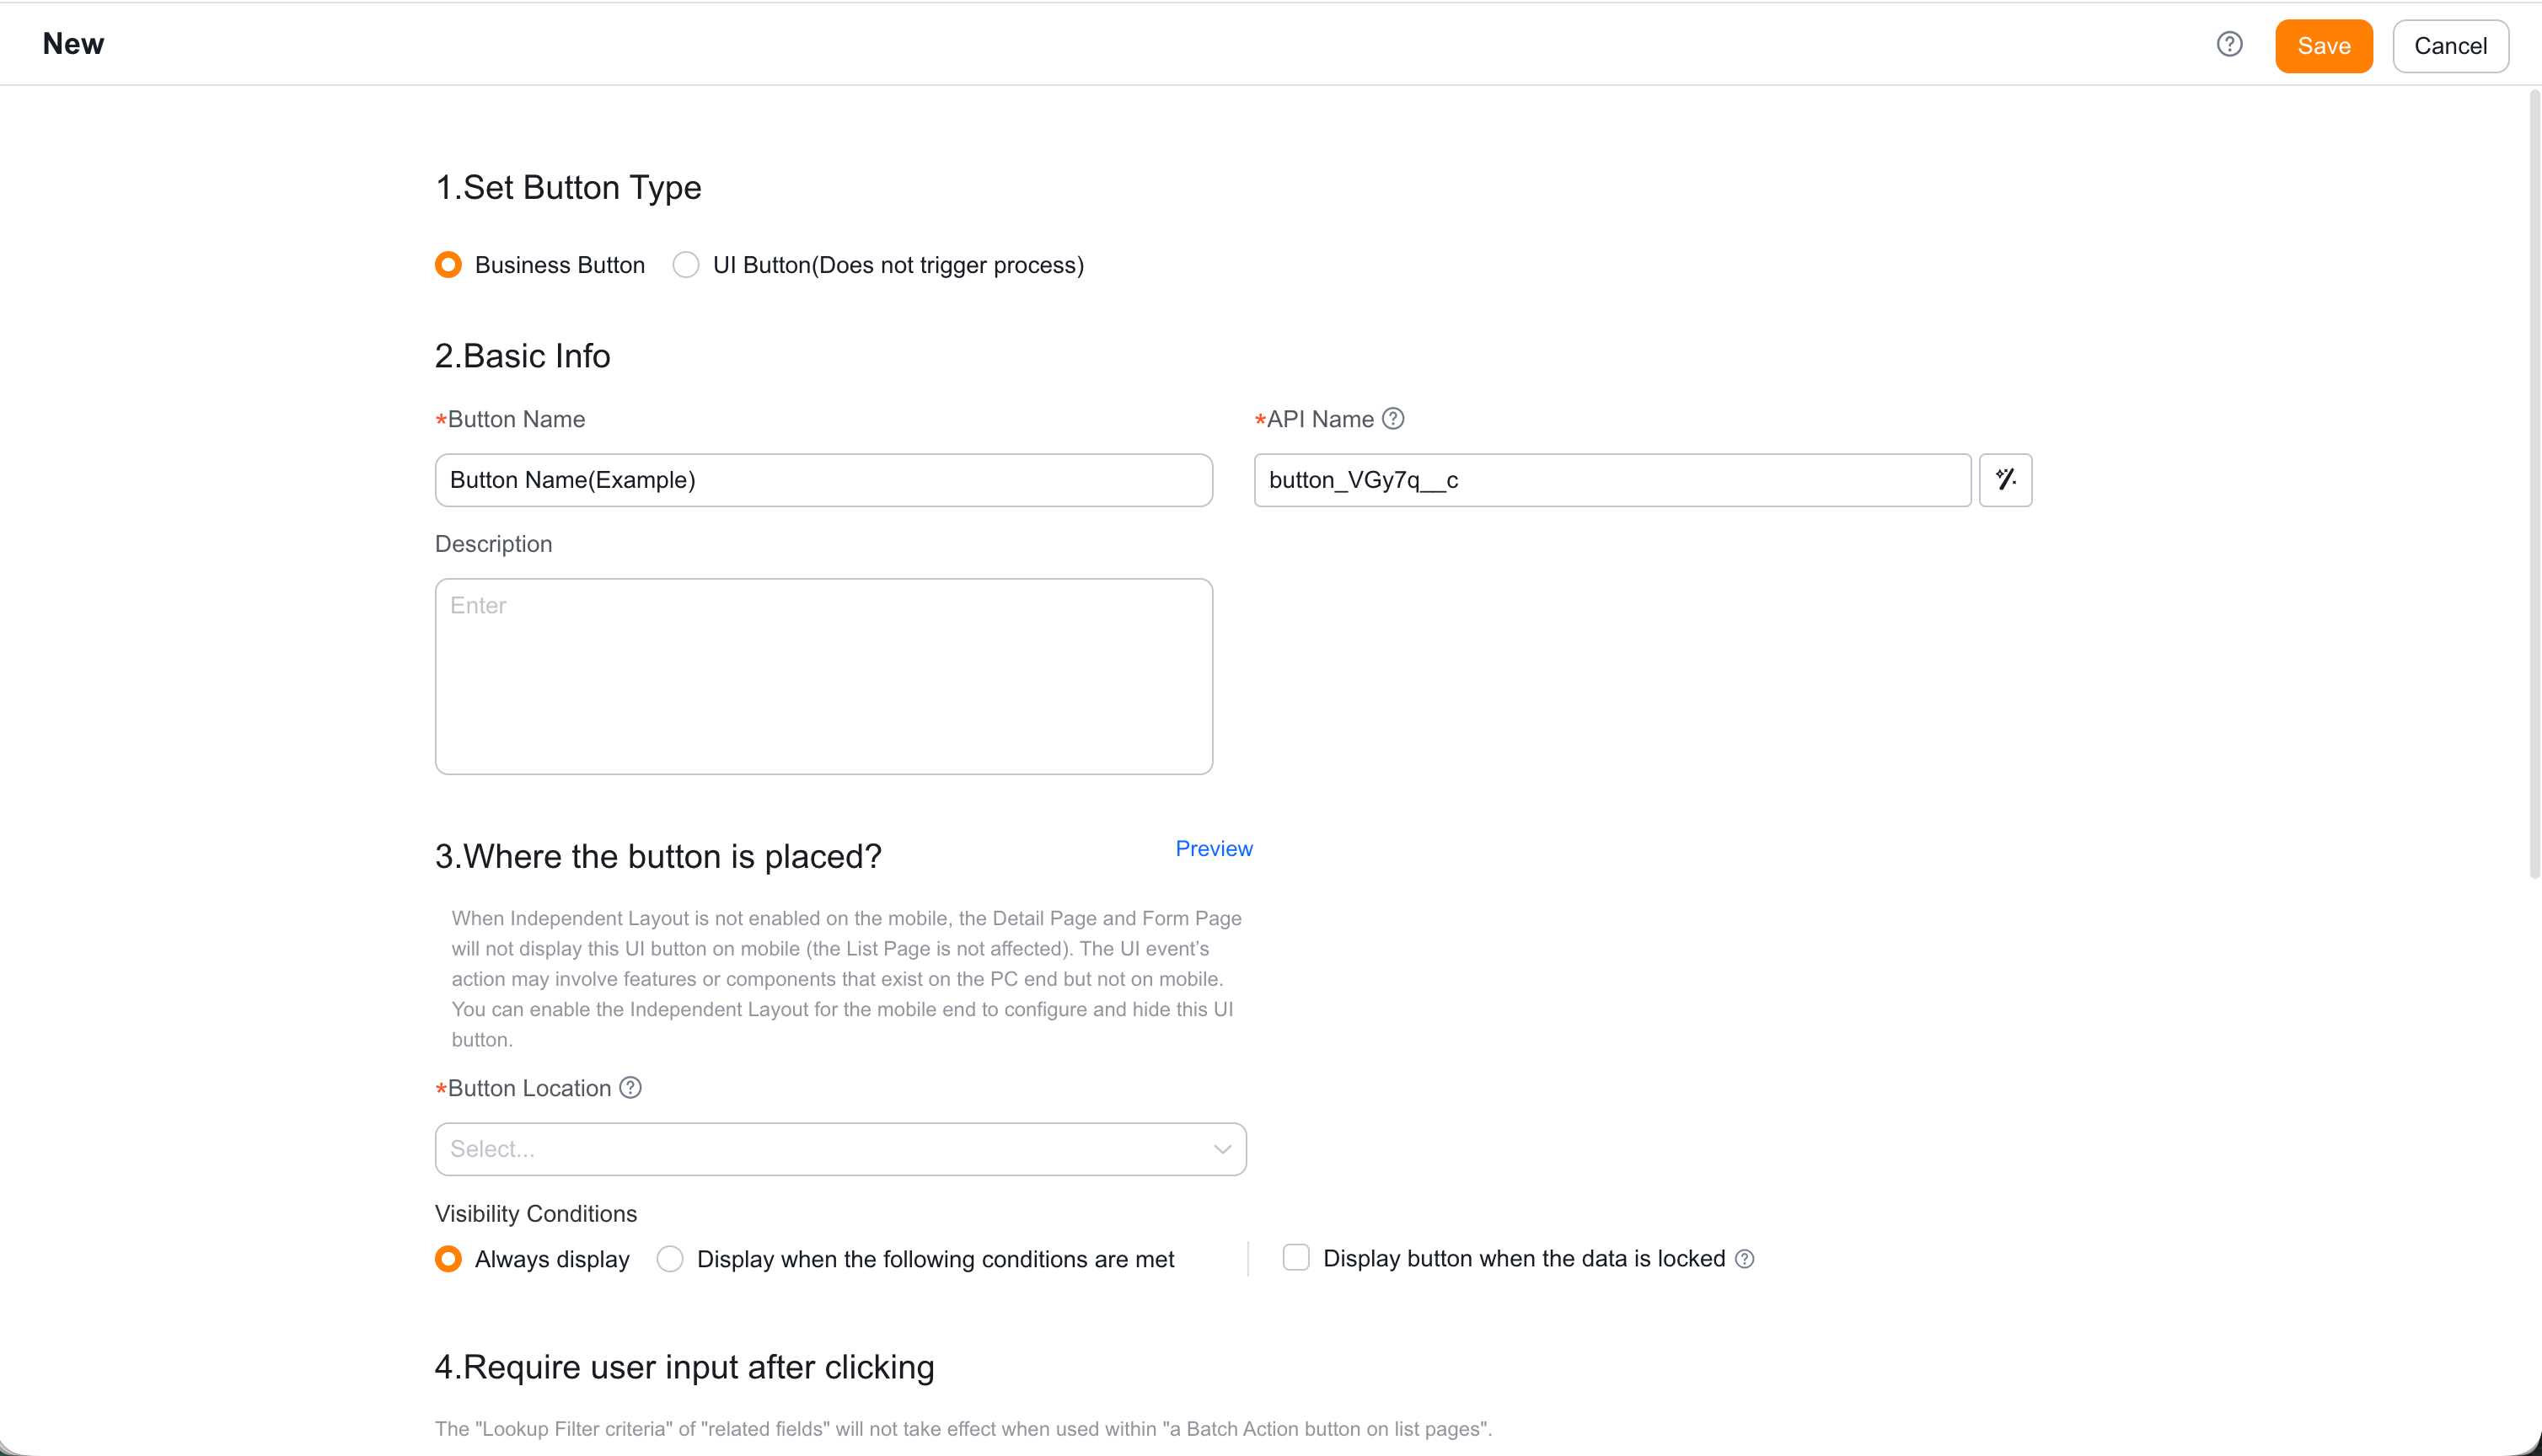
The location determines where the button appears:
Go to Object Management > Target Object > Button Management, and click Create Button.
Show the custom button when data is locked: Users can click the button during approval or another Lock Status.
CAUTION
Do not enable this option when the action changes the current record. Otherwise, users might change data during approval.
Bulk button display: For a List Page Bulk Operation, Visibility Conditions are evaluated during execution. The button remains visible after users select records. Records that do not meet the conditions return Execution Failed.
Use an existing Custom Field or create a temporary field for the button dialog.
name, owner, owner_department, life_status, lock_status, out_resources, mc_currency, and public_data_type.The action has three stages:
The current object is the Trigger Object. A list action can run as a Batch Operation.
Field change: Updates a Custom Field with a variable or constant.
IMPORTANT
A custom button bypasses the object's Validation Rules. Data Range filters do not apply when the button updates a Lookup. Invalid changes, such as division by zero, stop the update.
Custom Function: One button supports one function.
You must authorize roles through either entry point. Both use the same permission data:
Button configuration: In step 6, select the roles that can view and use the button.
Role permissions: Go to Object > Role Permission Settings, select a role, and authorize buttons in the list.