
Skip to content

Build a CRM application view for a sales team ​

Combine menus, pages, and components in one entry point.

Learning objective ​

In this tutorial, you create a sales-specific CRM application view. It contains common menu items, homepage components, and an Applicable Scope limited to the sales team.

Before you begin ​

IMPORTANT

  • Permissions: You need System Administrator permissions.
  • Data: Confirm that the CRM application exists.
  • Scope: Prepare the sales users, department, or role.
  • Review: CRM capabilities vary by Tenant and version. Follow the menus in Setup.

Step 1: Open CRM application settings ​

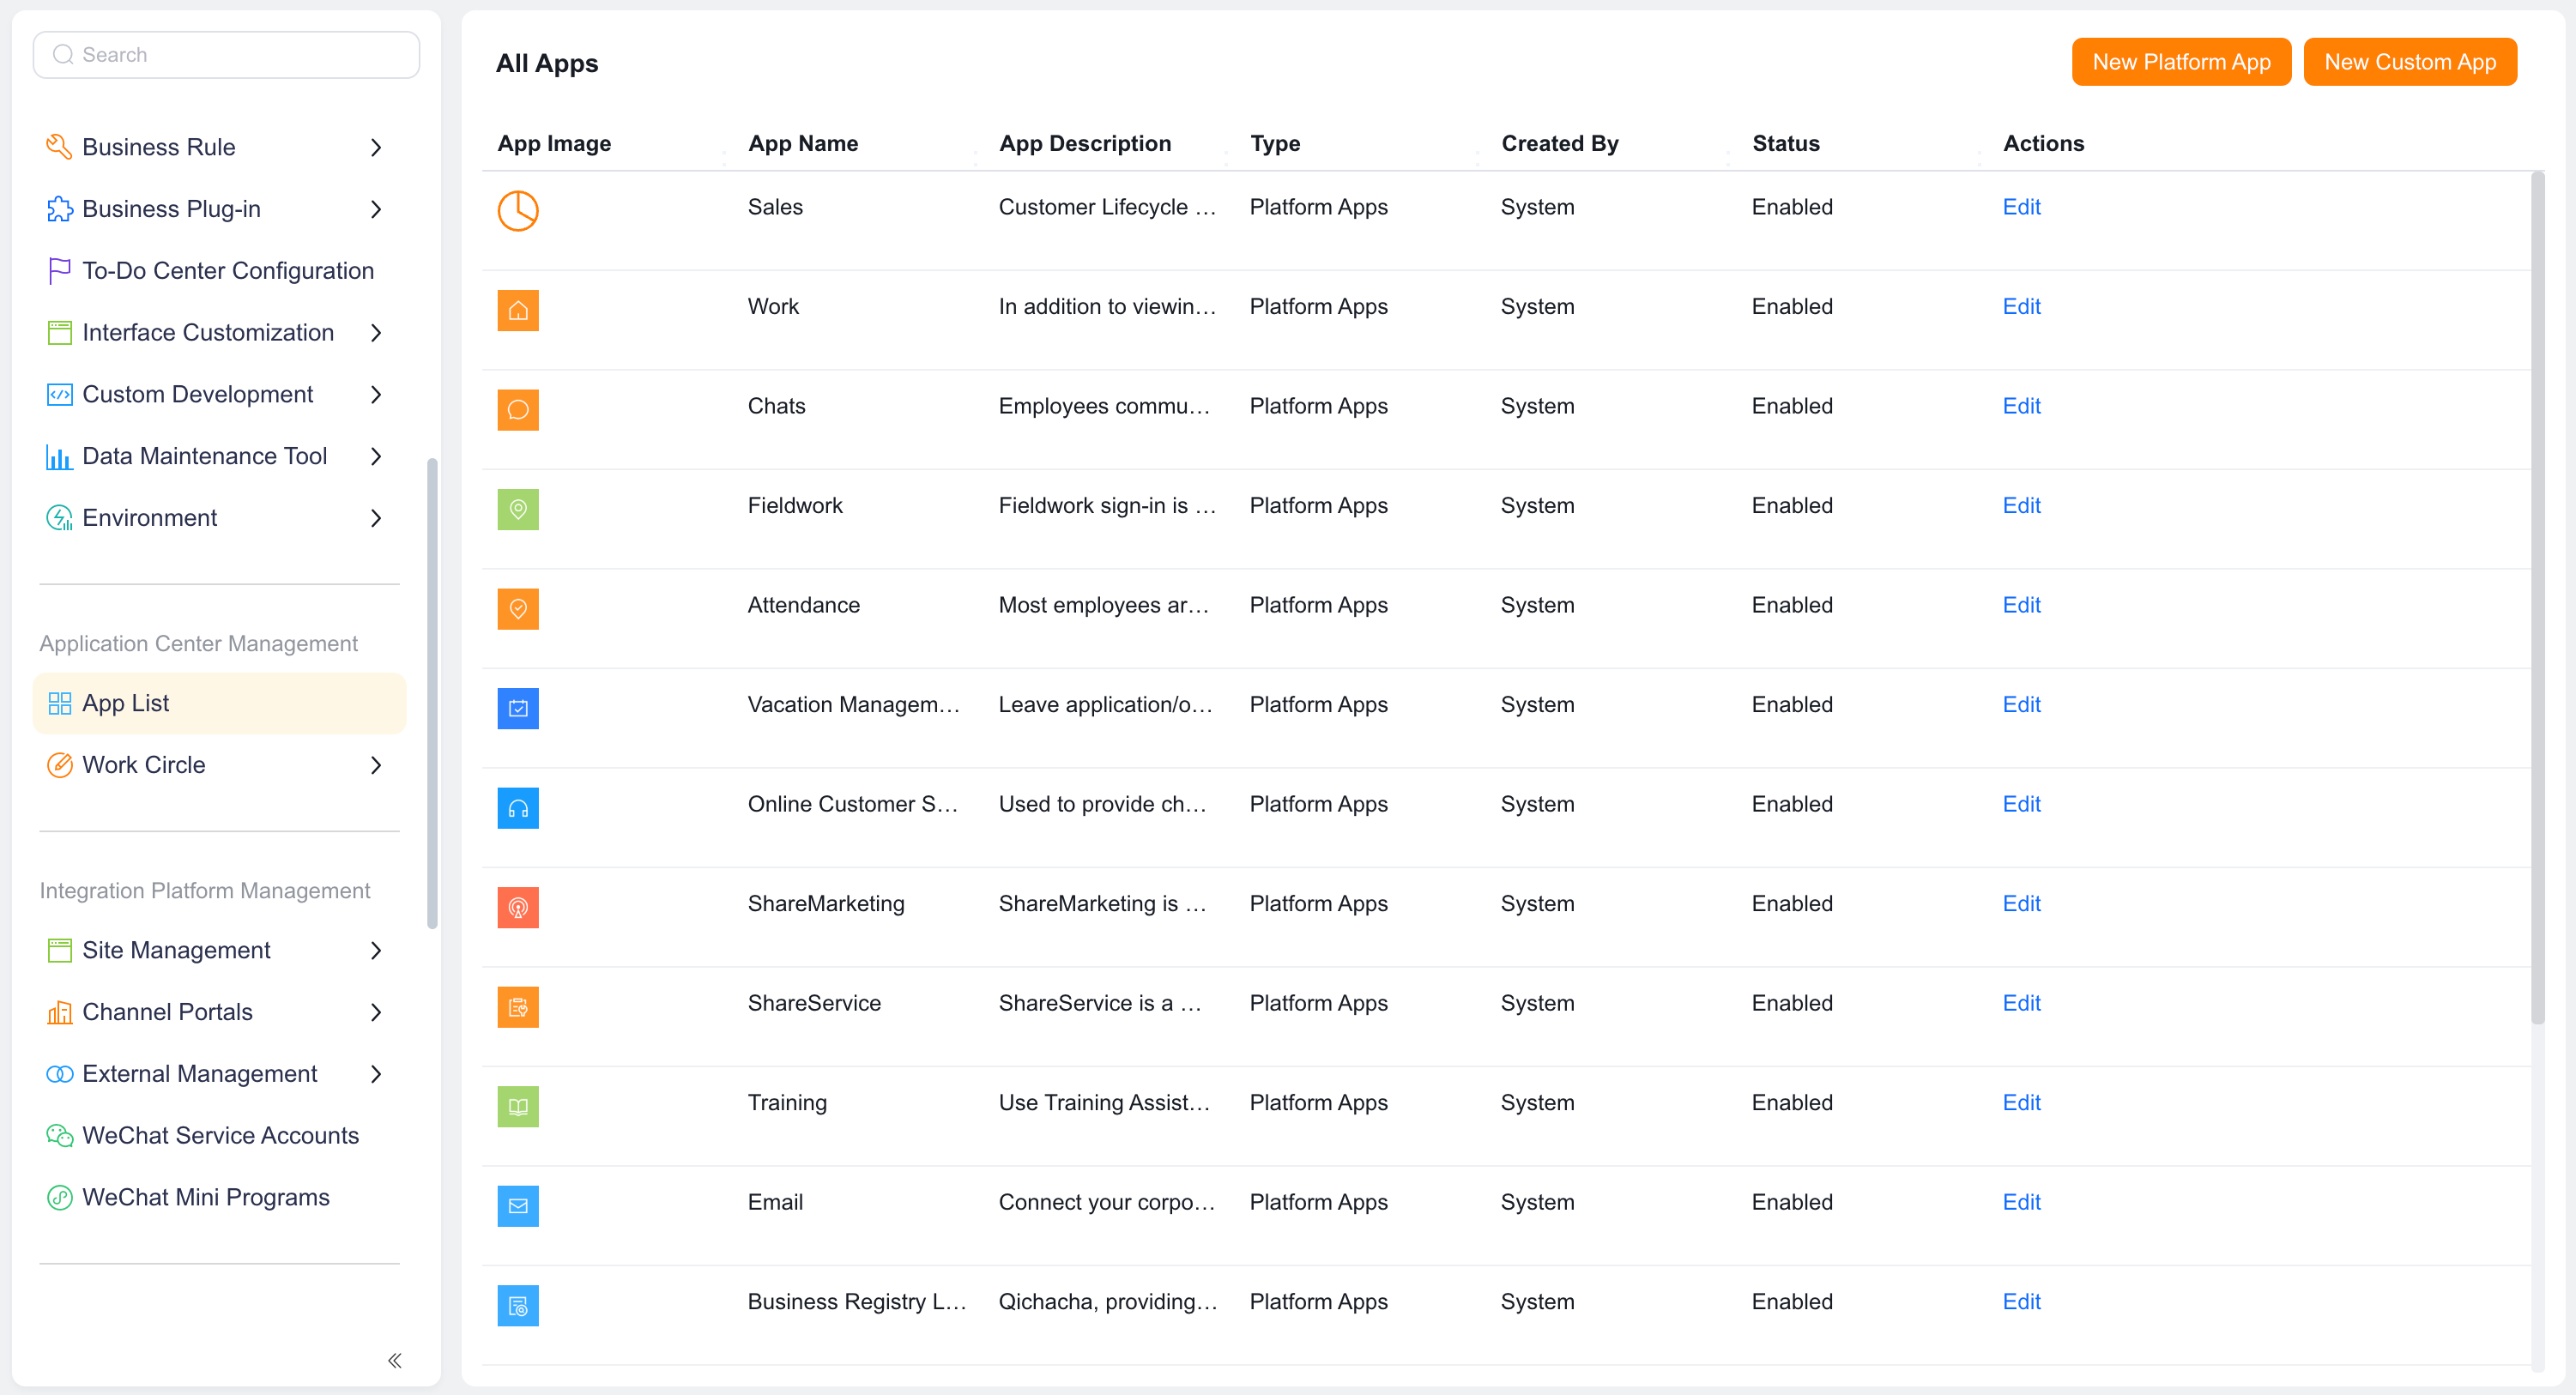
  1. In Setup, open App Center Management > App List.
  2. Locate CRM Application.
  3. Click Edit.

Edit the CRM application

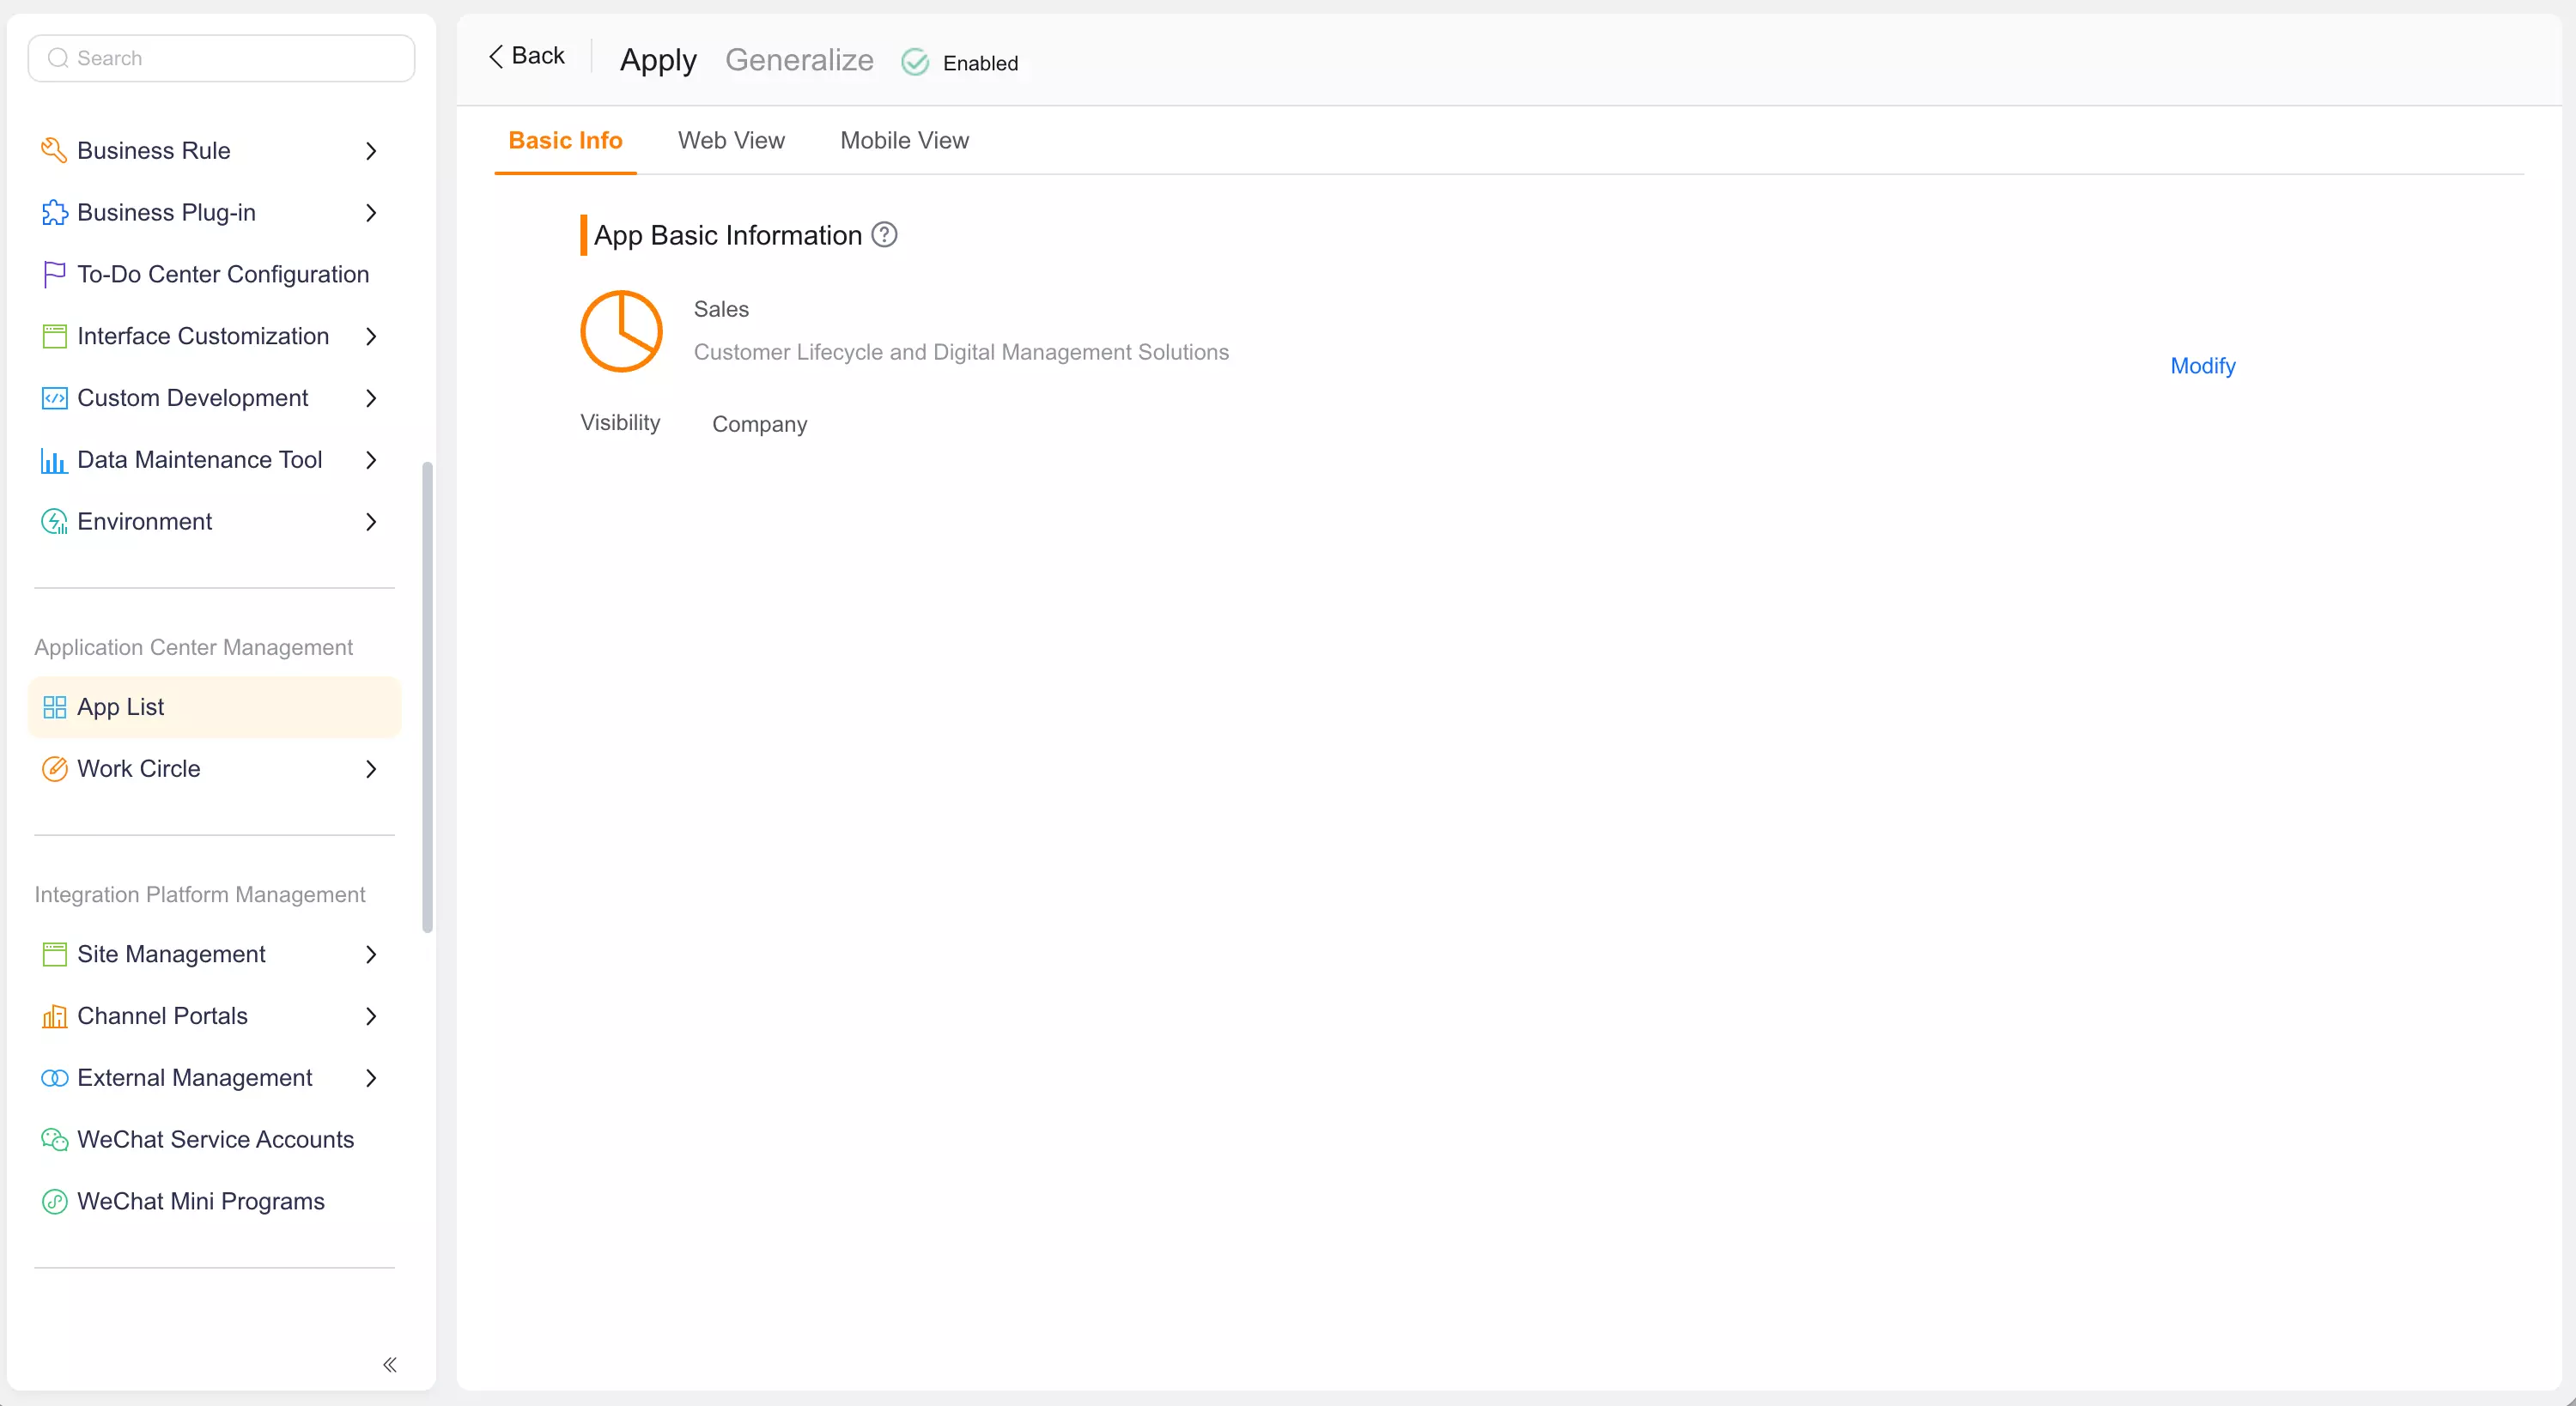
  1. Confirm that Web Application Views and Mobile Application Views are available.

CRM application settings

Step 2: Create a Web application view ​

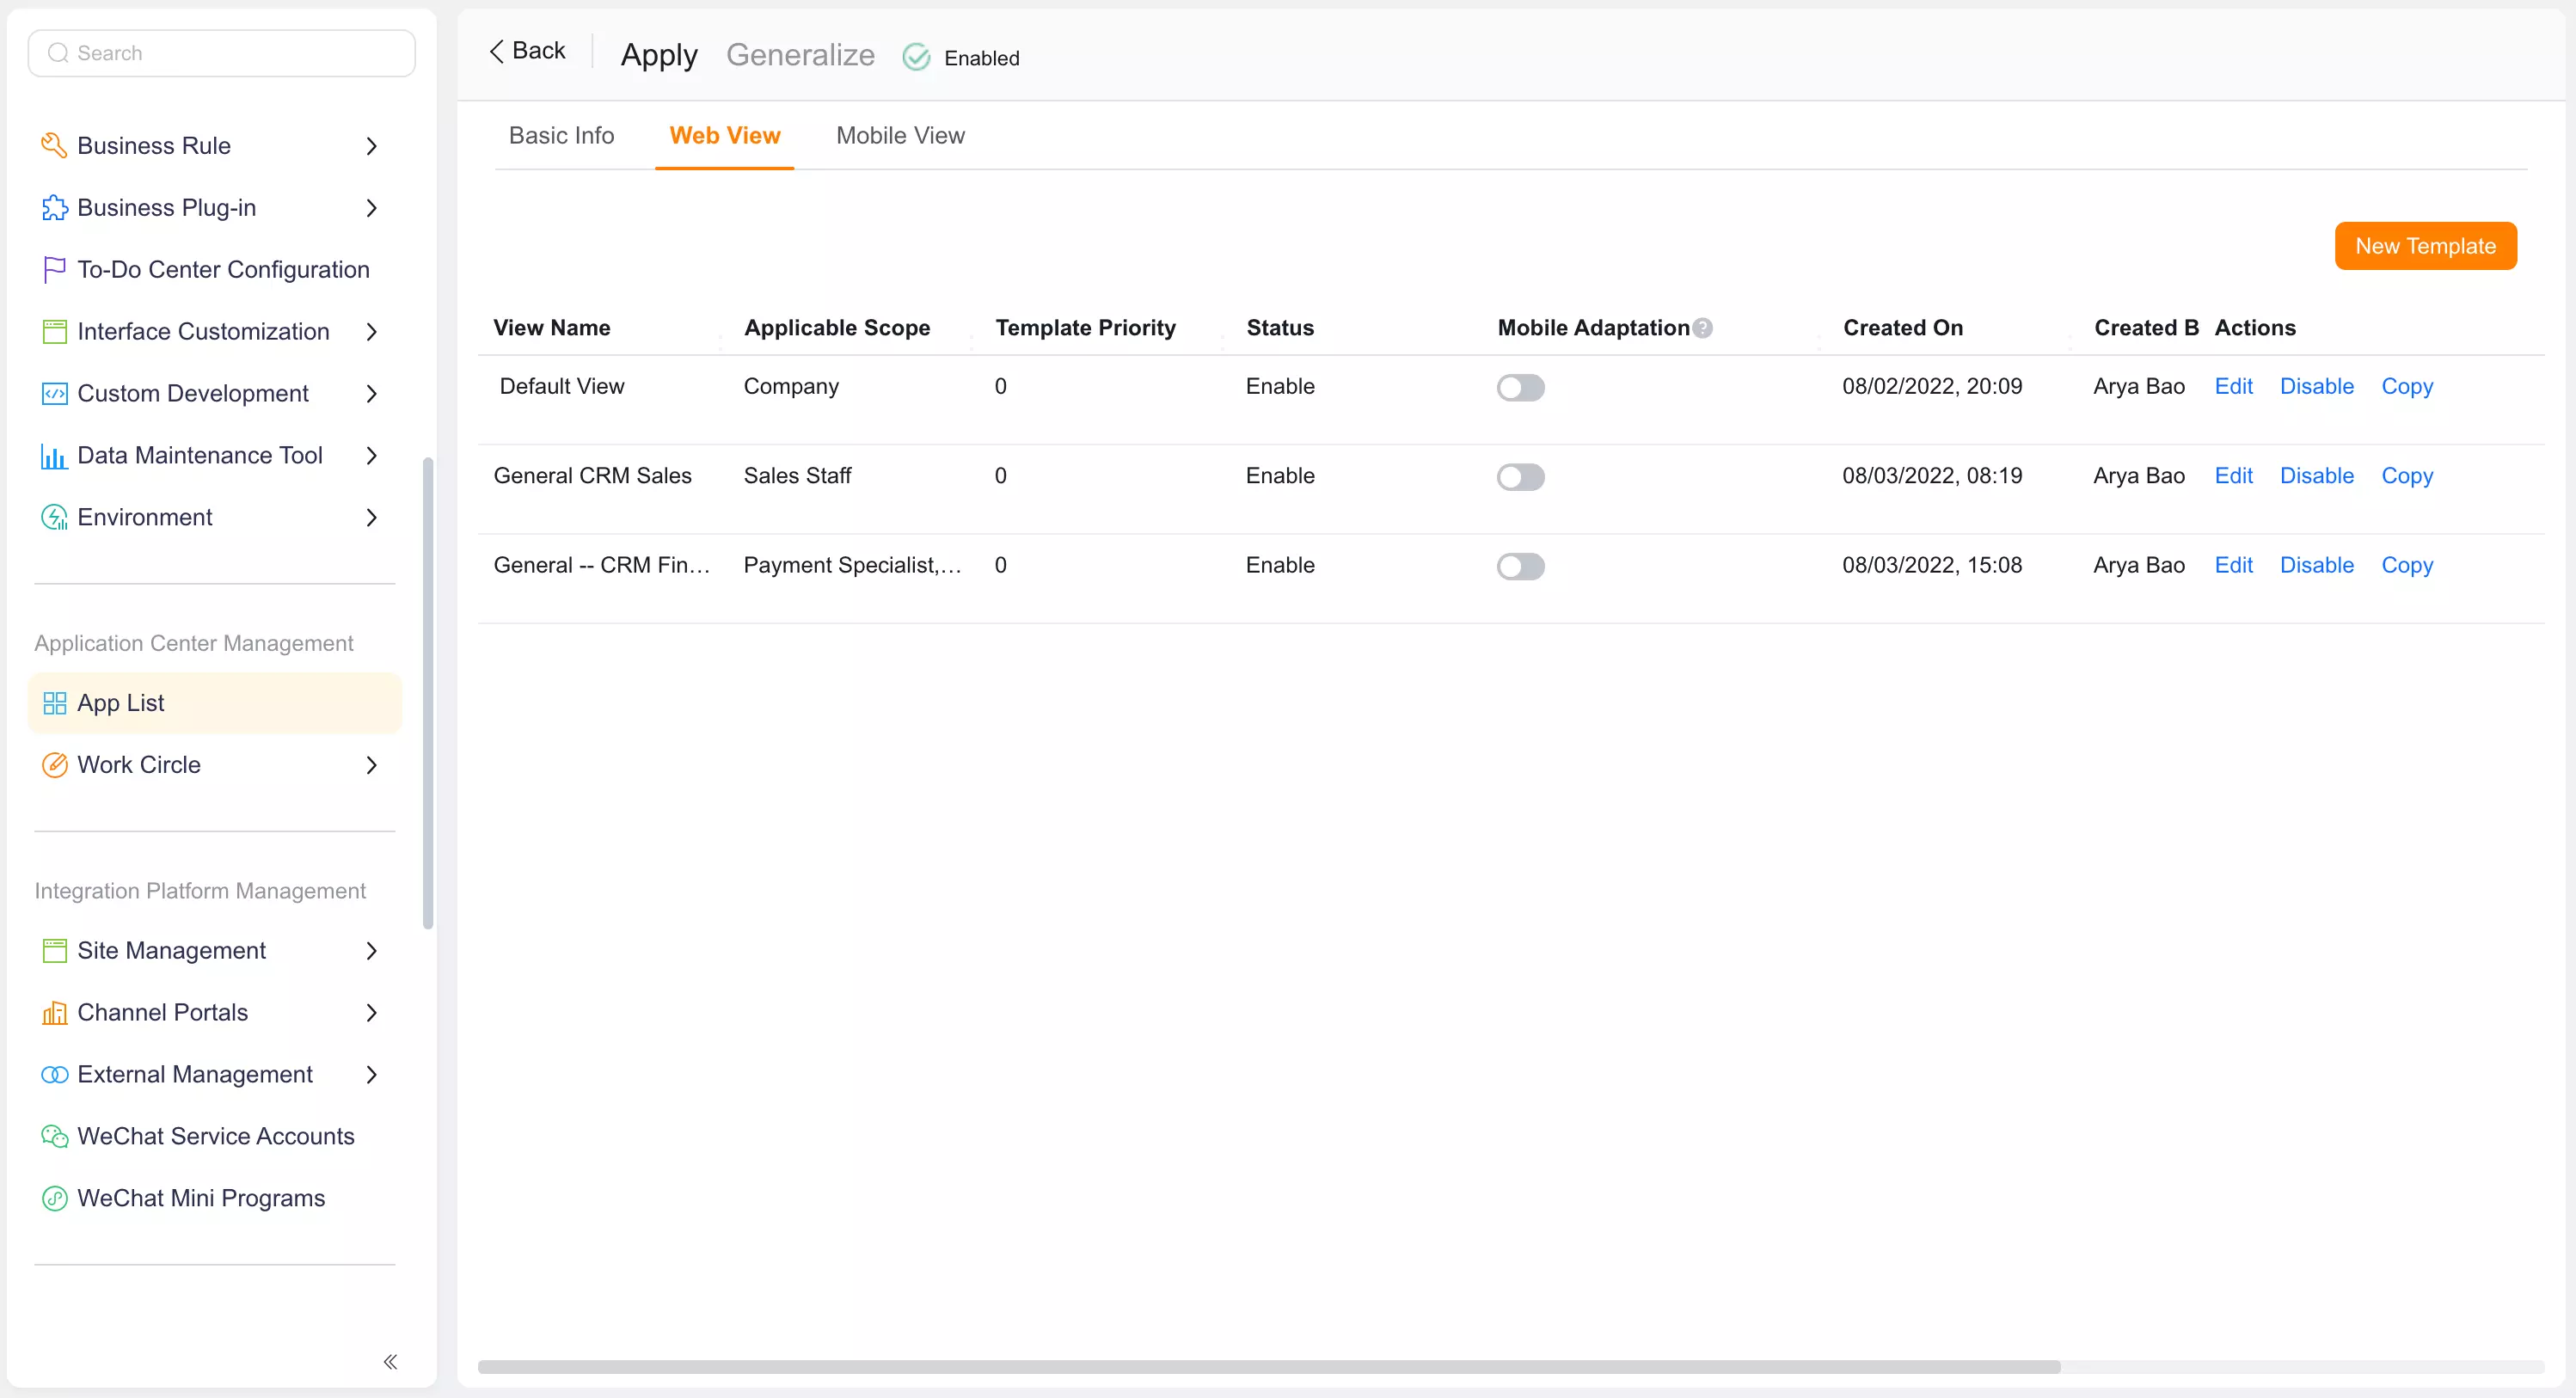
  1. Open the Web Application Views tab.
  2. Click New Template.

Web application view list

  1. Enter a Template Name under Basic Info.
  2. Enter a Template Priority from 0 through 9.
  3. Select the sales team under Applicable Scope.
  4. Select a Page Layout for the sales workspace.
  5. Click Next.
SettingExampleDescription
Template NameSales Team WorkspaceHelps users identify the view.
Template Priority5Avoid the highest priority during a pilot.
Applicable ScopeSales department or sales roleLimits the view to the target team.
Page LayoutBased on component quantityUse a simple or multi-region layout as needed.

Step 2 configuration recommendations ​

TIP

A larger Template Priority number loads first. Start with a lower priority during testing.

Step 3: Configure menu items ​

  1. Select objects that the sales team uses frequently.
  2. Add Accounts, Contacts, Opportunities, and Orders to the right list.
  3. Drag menu items into the sales workflow order.
  4. Create a custom menu item before adding a chart or custom page.
  5. Click Next.

To target a specific Record Type, create a custom menu item that opens that Record Type.
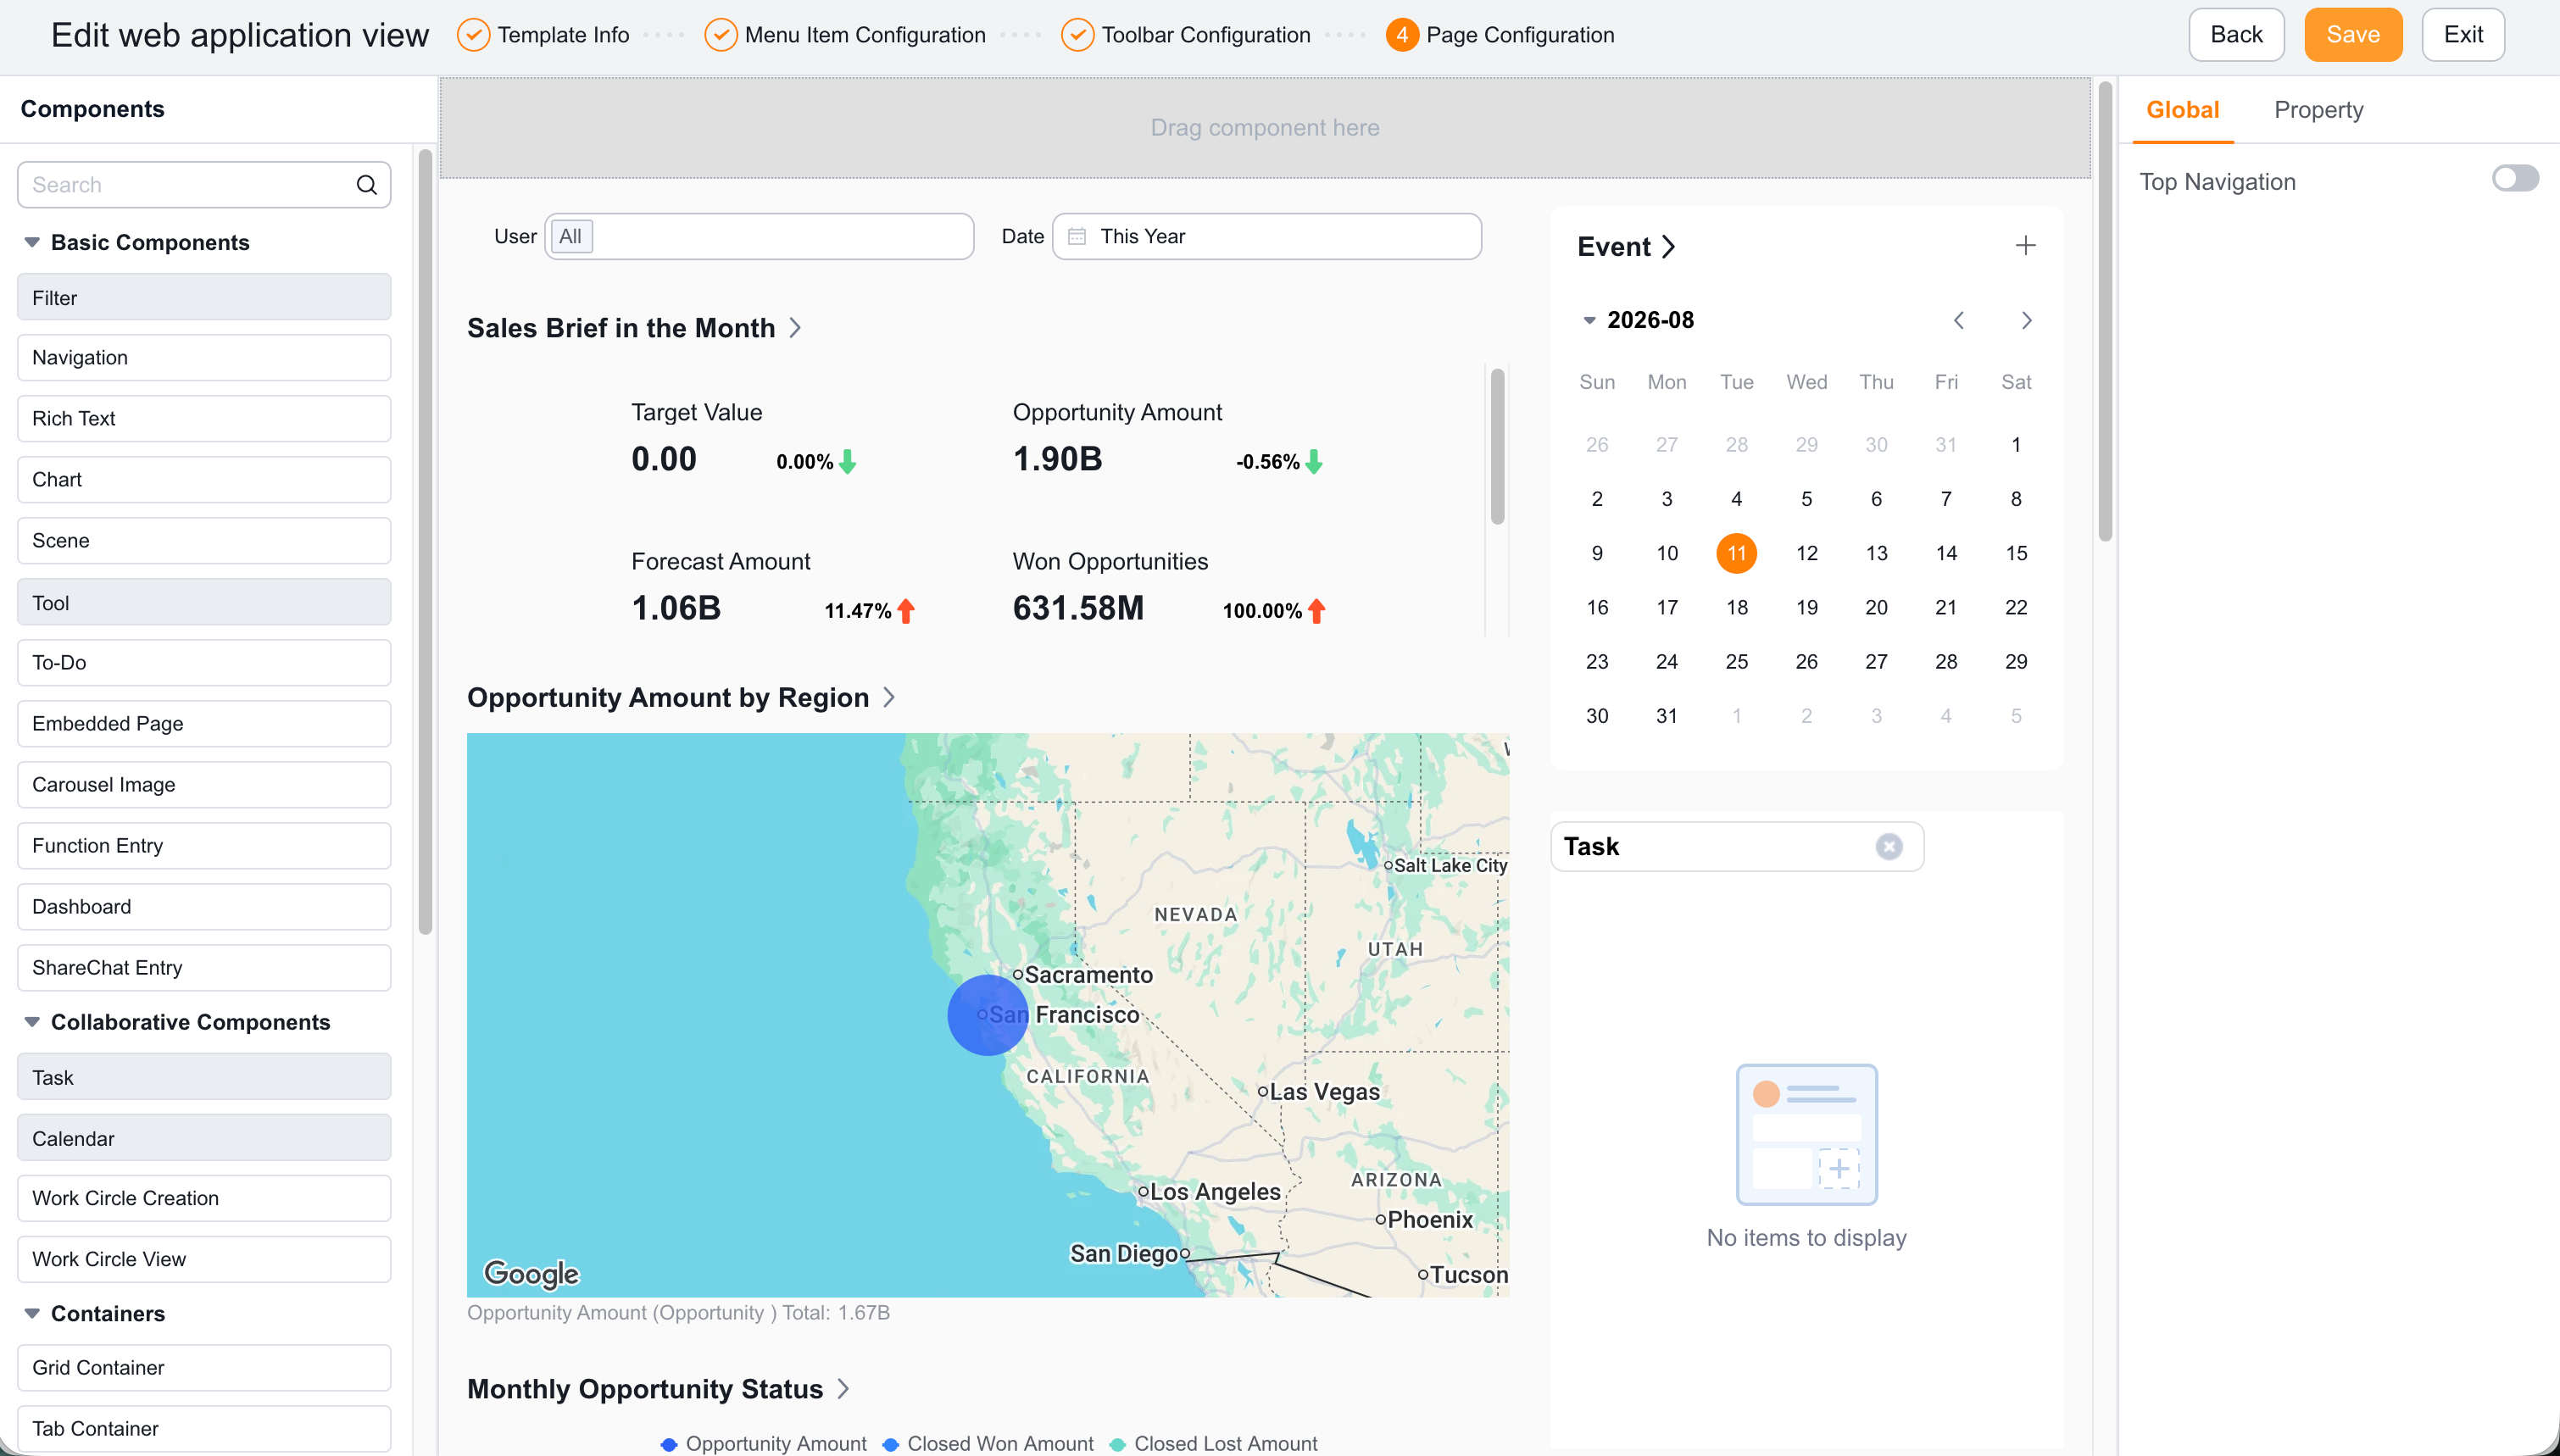
Step 4: Configure tools and components ​

  1. Select up to three tools.
  2. Add common, BI, or business components to the page.
  3. Use Enable under Global Settings to control global search.
  4. Configure the selected component under Component Settings.
  5. Click Save.

Configure the Web view

Step 4 configuration recommendations ​

AreaRecommended Content
ToolbarSelect no more than three scenarios, tools, schedules, or tasks.
Upper pagePlace frequent components such as sales briefs, to-do items, and tasks.
Middle pagePlace Account profiles, Opportunity funnels, or chart components.
Lower pagePlace less frequent supporting or descriptive components.

Step 5: Verify the result ​

  1. Sign in with a sales team member account.
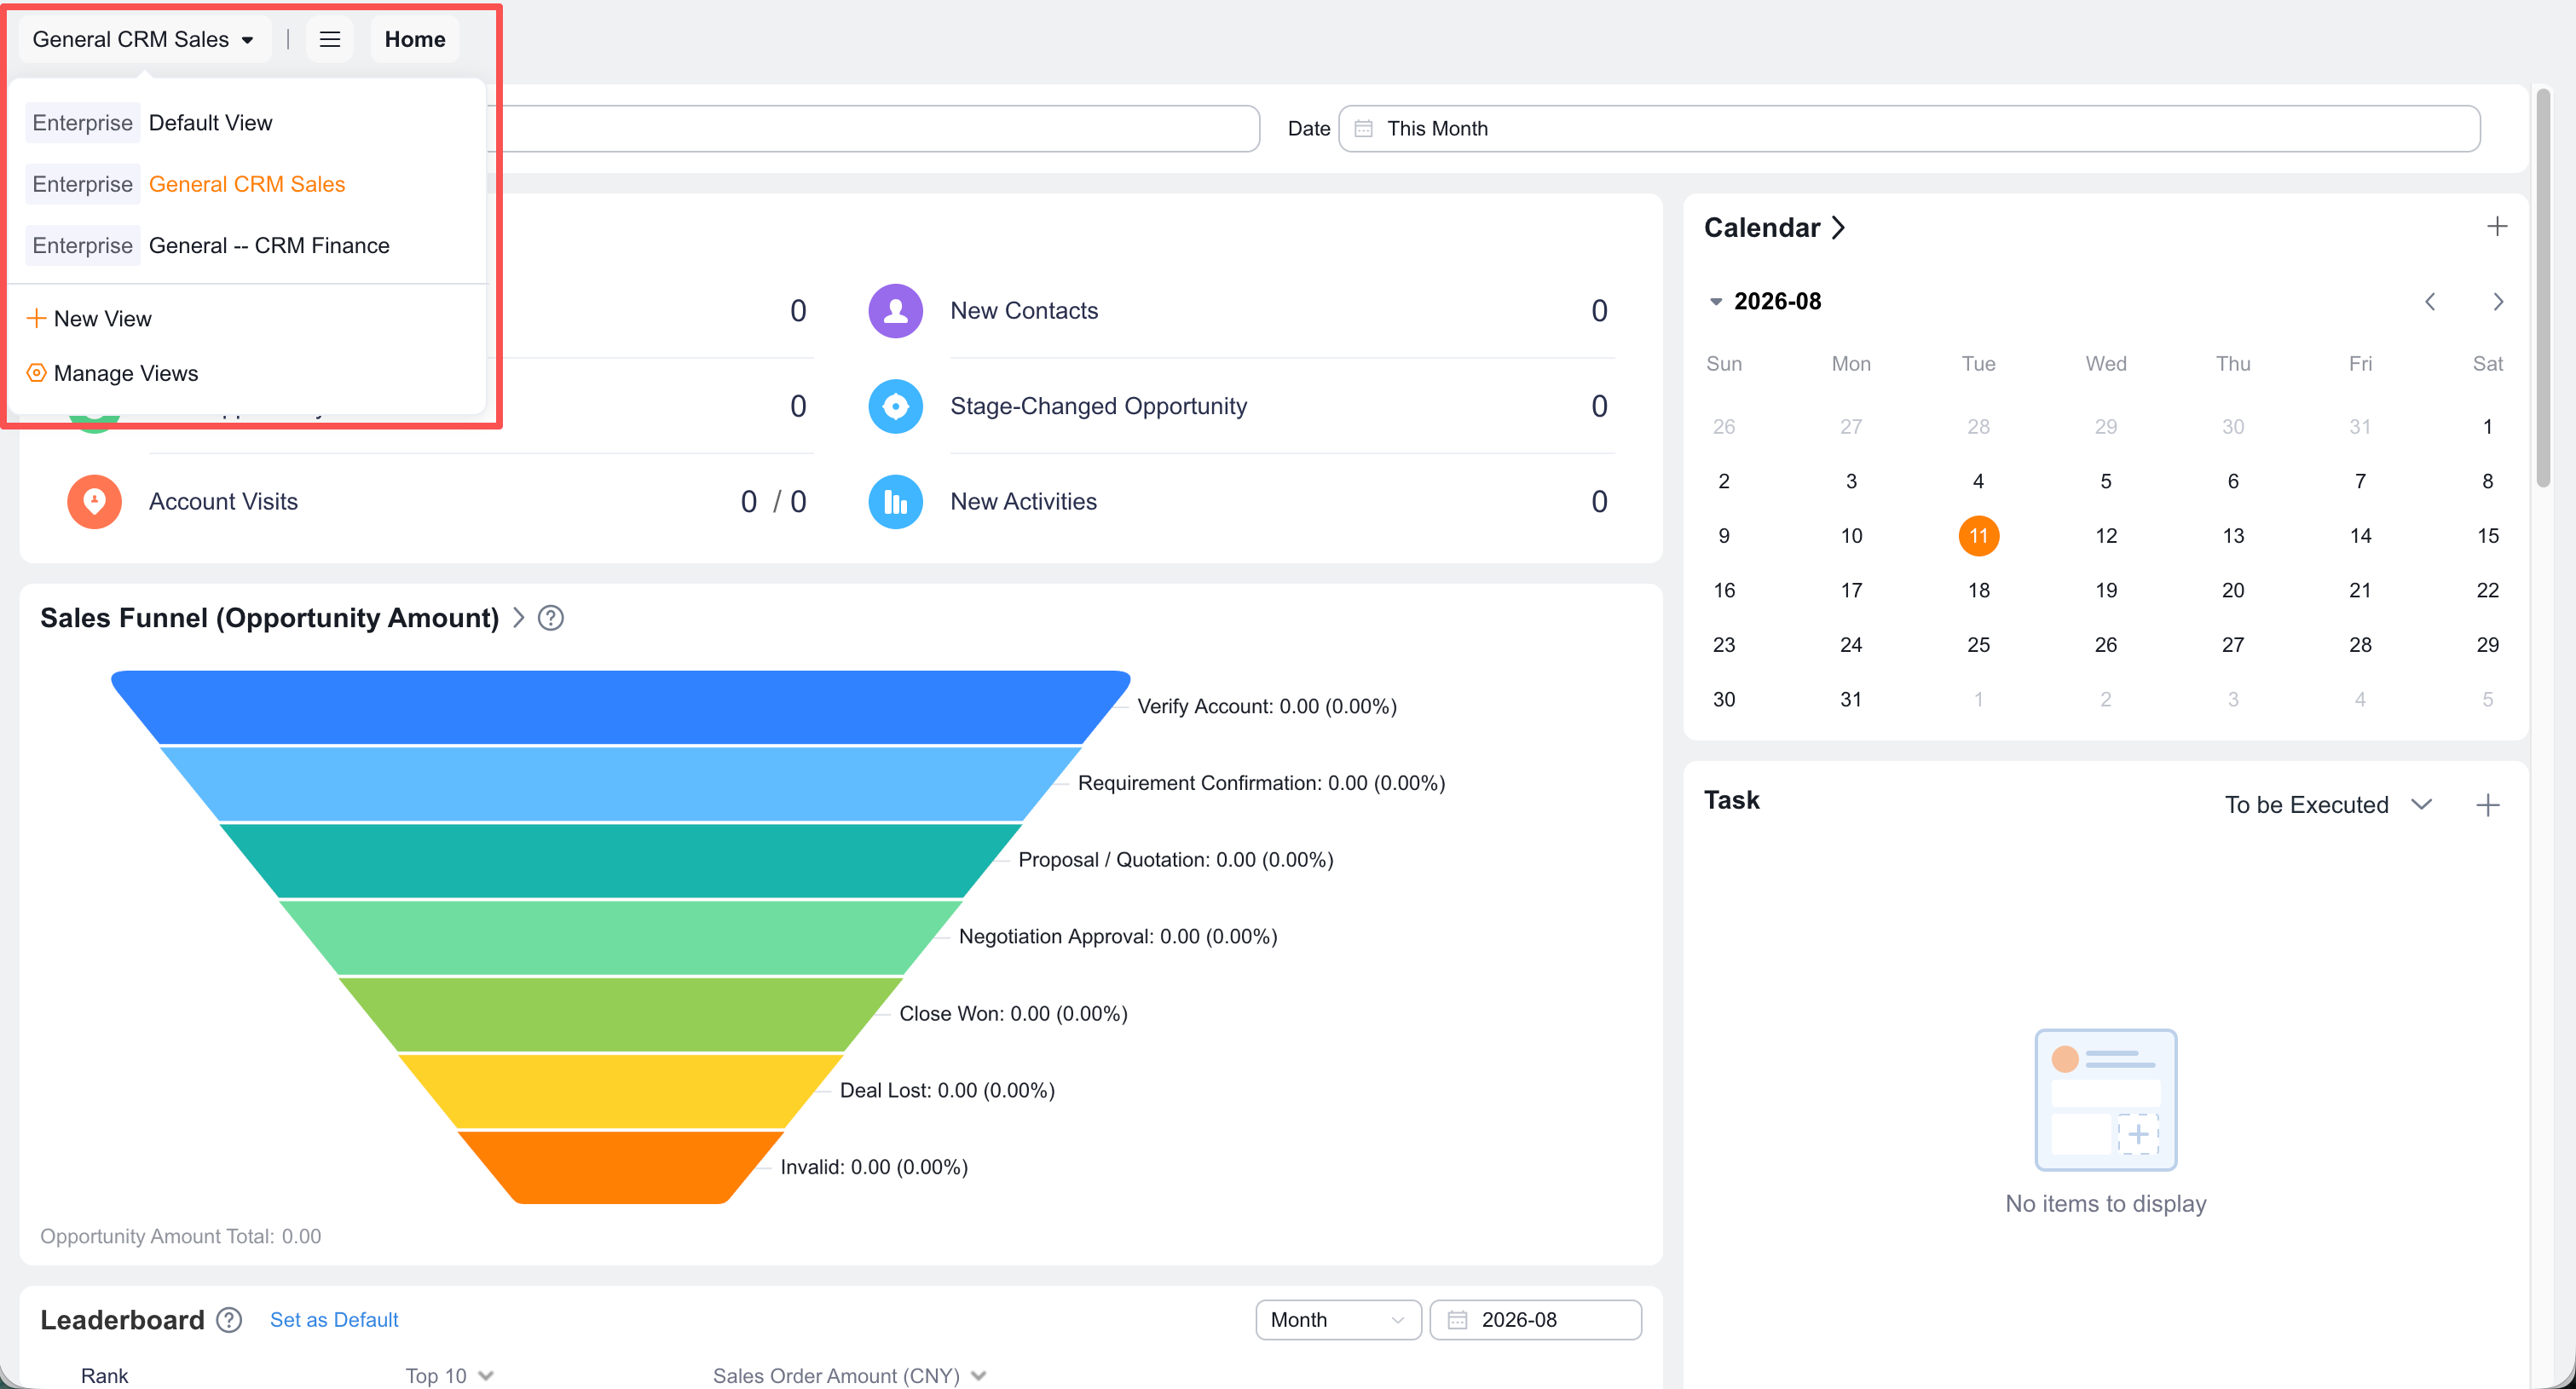
  2. Switch to the new view in CRM.

Switch view templates

  1. Confirm that menu items appear in the configured order.
  2. Confirm that homepage components load correctly.
  3. Confirm that users outside the Applicable Scope cannot see the view.

Common validation points ​

CheckPass criteria
Application visibilitySales users can see the CRM application.
View visibilitySales users can switch to the new view.
Scope isolationOther users cannot see the view.
Menu orderMenu items follow the designed order.
ComponentsComponents load without blank or misplaced regions.

Next steps ​