

Skip to content

Quick start: Create a delivery order object ​

Complete a minimum viable loop to learn object, field, and layout configuration.

Learning objectives and expected outcome ​

This tutorial walks you through creating a Delivery Order custom object to help administrators get started with object customization.

After completing this tutorial, you will be able to:

  • Create a custom object.
  • Add basic fields.
  • Configure new/edit page, detail page, and list page layouts.
  • Create a delivery order record on the frontend and verify the result.

The expected outcome is that frontend users can access the Delivery Order object, enter delivery address, contact person, phone number, planned delivery date, and delivery status, and view delivery order data on the list page.
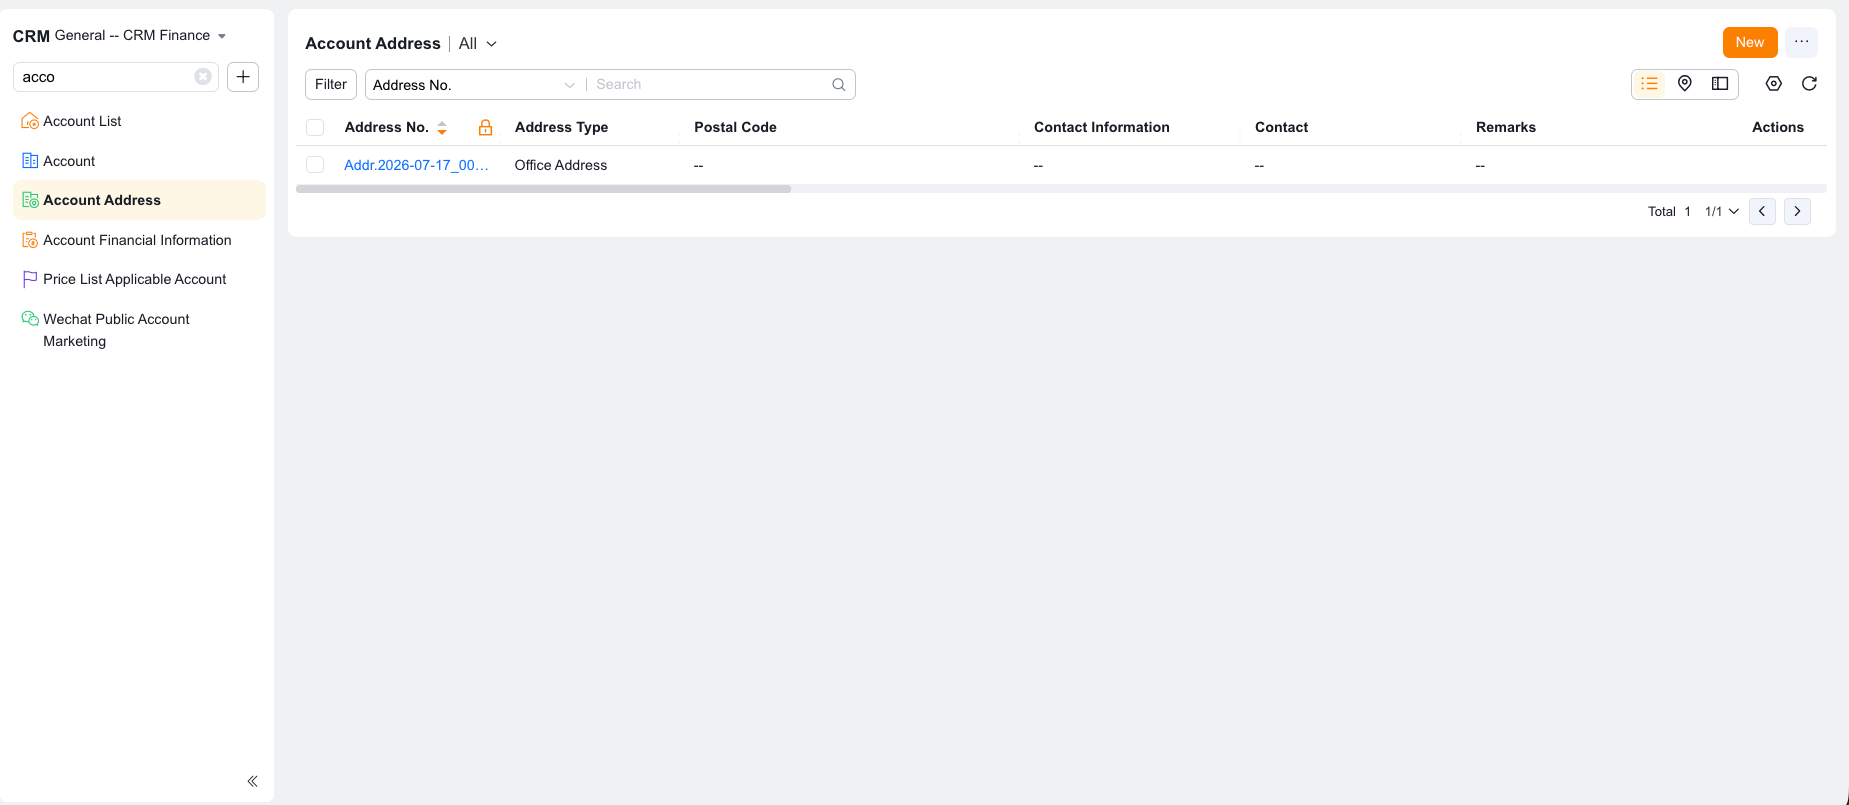
Custom object frontend display

Before you begin ​

IMPORTANT

  • Role permissions: You must have object management, field management, and layout configuration permissions.
  • Resource quota: Confirm that your organization has available custom object quota.
  • Scope: This tutorial covers only the minimum viable configuration. For advanced object features, refer to the create custom objects guide.

Steps ​

Step 1: Create the delivery order object ​

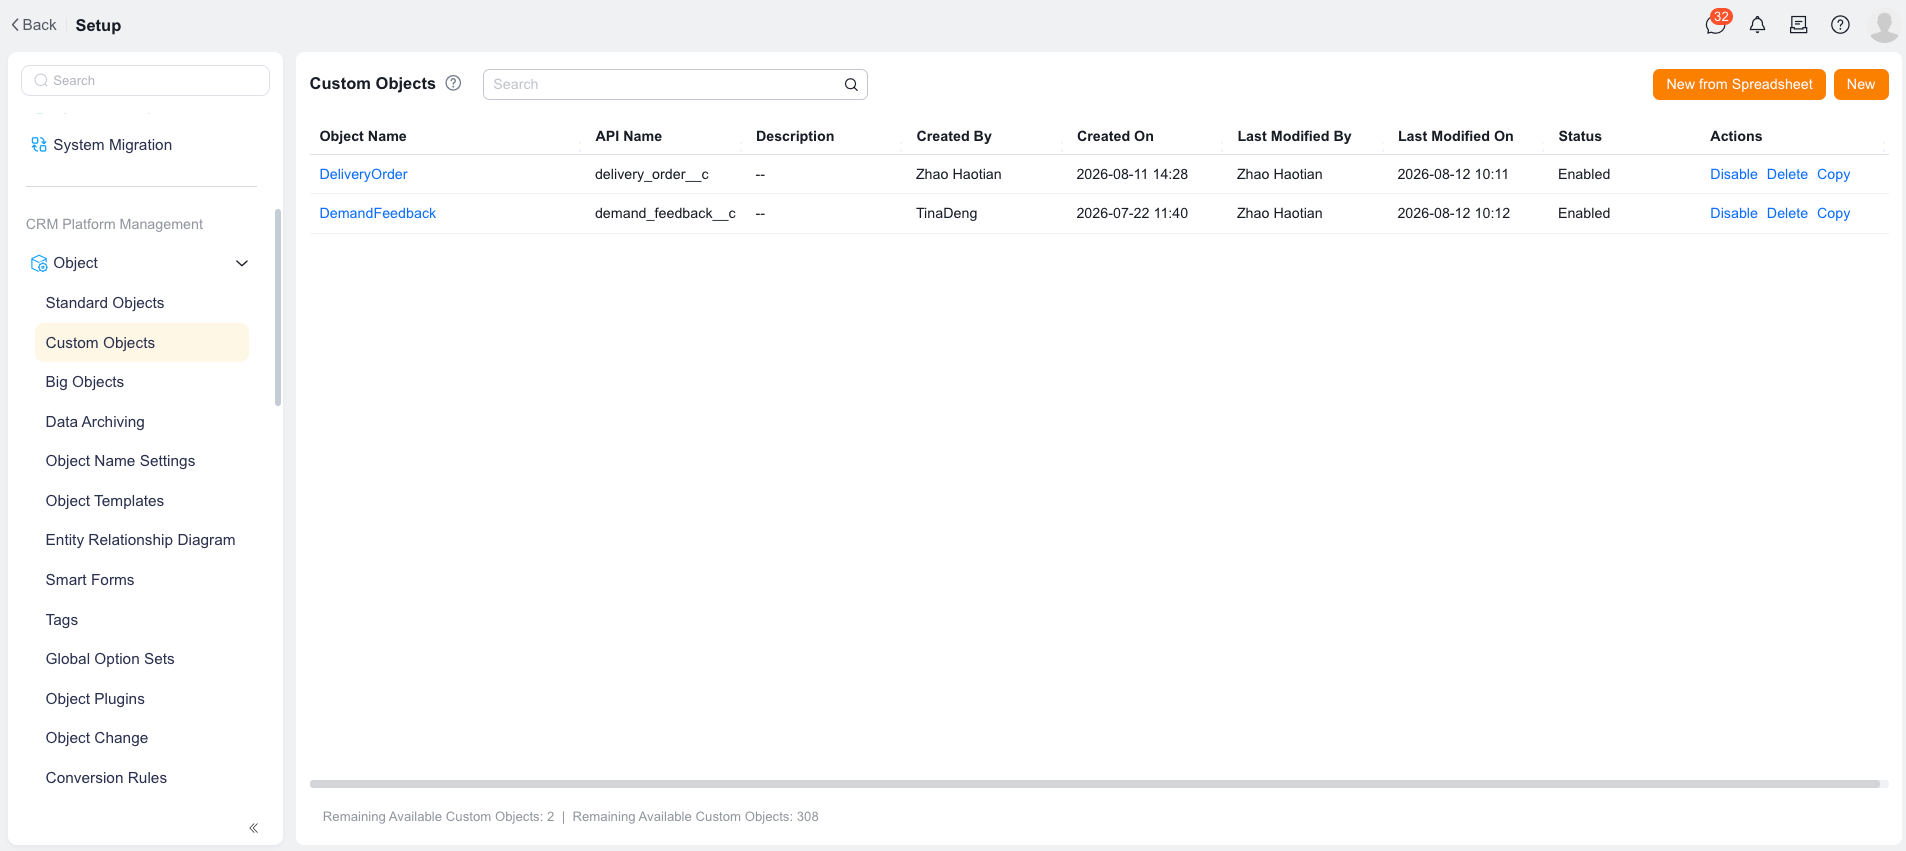
  1. Go to Setup > Object Management > Custom Object Management.
  2. On the Custom Object Management page, click Create.
  3. In Object Name, enter Delivery Order.
  4. In API Name, keep the system-generated value or enter DeliveryOrder__c.
  5. In Status, select Enabled.
  6. In Description, enter Records and manages delivery business data.
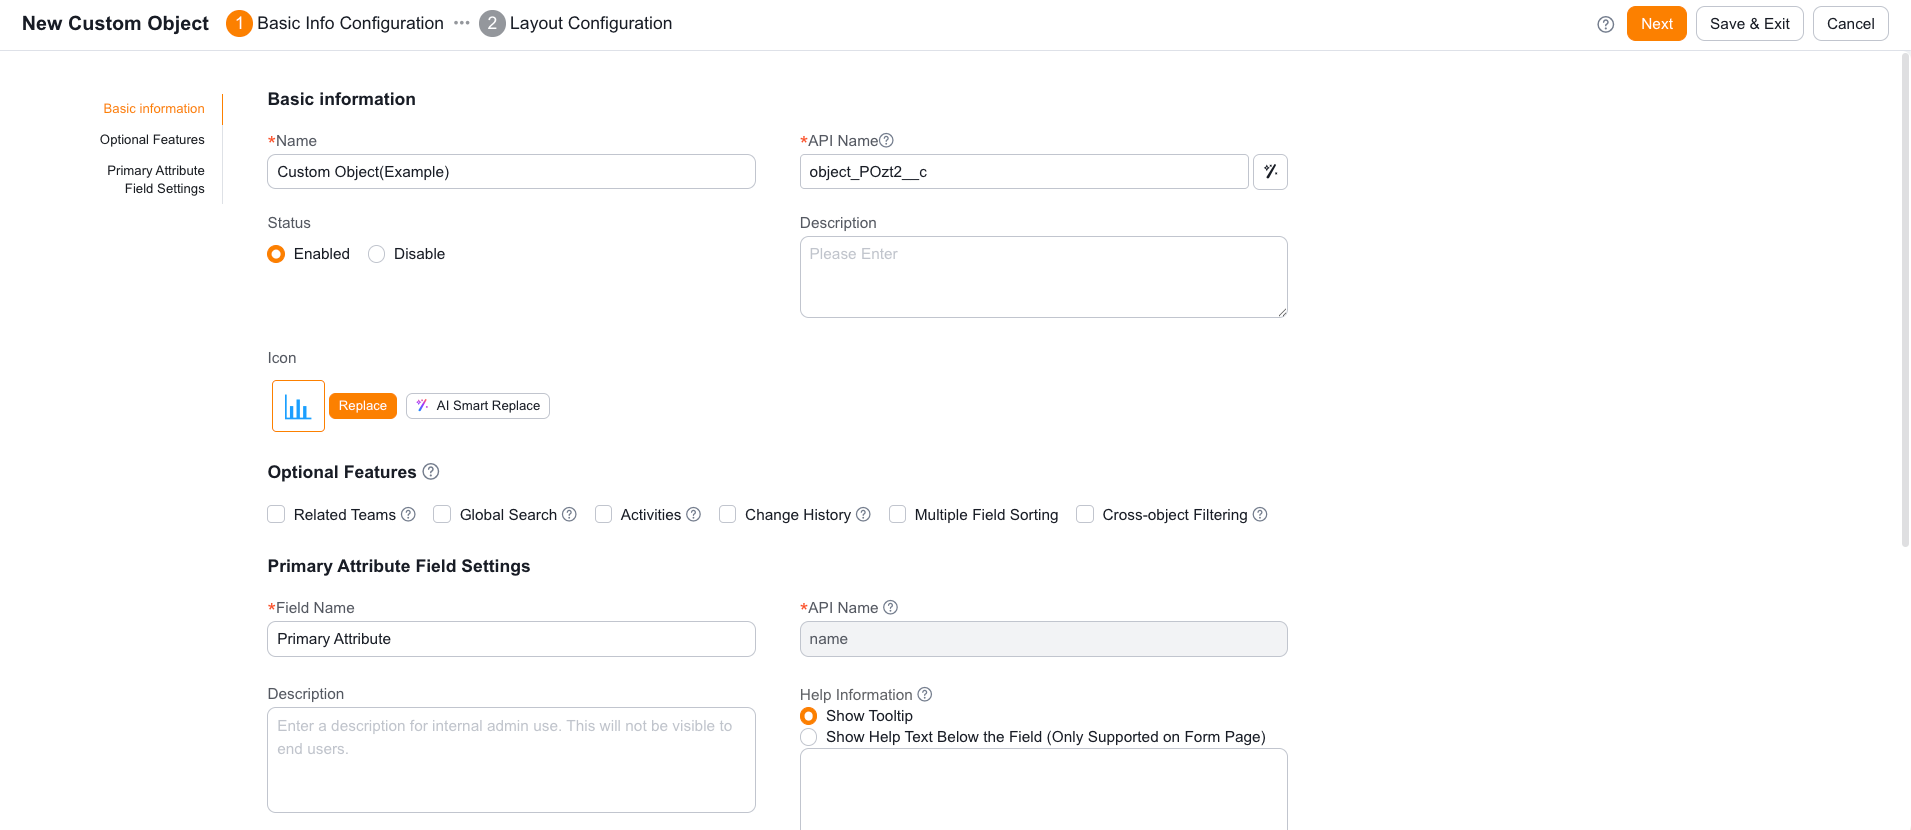
  7. Select a recognizable object icon.
  8. Click OK.

Custom object list and create button

Object basic information configuration

Step 2: Add basic fields ​

Add the following fields to the Delivery Order object:

Field nameField typeRequiredPurpose
Delivery AddressMulti-line textYesRecord the delivery address
Receiving ContactSingle-line textYesRecord the contact person name
Contact PhoneMobile phoneYesRecord the contact phone number
Planned Delivery DateDateNoRecord the estimated delivery date
Delivery StatusSingle selectYesTrack the delivery progress
  1. Open the Delivery Order object details.
  2. Go to the Fields & Relationships page.
  3. Click New Field.
  4. Create the fields listed in the table above.
  5. Set the options for Delivery Status: Pending, In Transit, Signed, Cancelled.
  6. Save the field configuration.

TIP

This tutorial creates only common fields. For advanced configurations such as field defaults, field dependencies, and field permissions, continue to the field management chapter.

Step 3: Configure the new/edit page layout ​

  1. Open the Delivery Order object details.
  2. Go to Layouts > New/Edit Page Layout.
  3. Create or edit the default layout.
  4. Add a section named Delivery Information.
  5. Place Delivery Address, Receiving Contact, Contact Phone, Planned Delivery Date, and Delivery Status in the section.
  6. Arrange the fields so that required fields appear first.
  7. Save and publish the layout.

Step 4: Configure the detail page layout ​

  1. Go to Layouts > Detail Page Layout.
  2. Open the default detail page layout.
  3. In the summary area, display Primary Attribute, Delivery Status, and Planned Delivery Date.
  4. In the details area, display the Delivery Information section.
  5. Save and publish the layout.

Step 5: Configure the list page layout ​

  1. Go to Layouts > List Page Layout.
  2. Open the default list page layout.
  3. Set the list display fields: Primary Attribute, Delivery Status, Receiving Contact, Contact Phone, Planned Delivery Date, Owner.
  4. Set Delivery Status and Planned Delivery Date as commonly used filter fields.
  5. Save and publish the layout.

Step 6: Create test data ​

  1. Log in with a test account on the frontend.
  2. Open the Delivery Order object.
  3. Click Create.
  4. Fill in the delivery address, contact person, contact phone, and delivery status.
  5. Click Save.

Verify the results ​

  • The Delivery Order object is visible on the frontend.
  • The new record page displays only the basic delivery fields.
  • After saving, the detail page shows the delivery information.
  • The list page displays the delivery status and planned delivery date.
  • Users can filter data by delivery status.

Next steps ​